MonkeyWipes FAQ
MonkeyWipe FAQ
Trial Mode: The trial version of MonkeyWipes is good for seven days and three layers or lines of text per build.
Installing MonkeyWipes: Place the MonkeyWipes.jsxbin and MonkeyWipes folder into the AE ScriptUI Panels folder.

PRESETS
There are several different subdivisions in the dropdown menu. Any of the selections can apply to either text or layer animations, however, the bottom one (named after some of our favorite designers and artists) was created with backgrounds in mind, while the one above was designed for text. Unfortunatley, there is no way to create yoru own presets, however, the Save and Load can act as such if you have favorites you want to save. They can be saved anywhere on your hard drive, theres no specific place you need to save them to.
Default: This will result in a series of random selections being applied to a range of 1 - 4 groups per layer...so some will be more varied than others. Since all random selections are assigned during the building process, theres no way to save or replicate any animation that uses random settings.
What is the 'Surprise Me' mode? Surprise Me is designed to be an easy way to experiment and come up with unique settings for your animations. It will randomly assign specific Shape,Transform and Wipe dropdown settings, while keeping Group 1, and leaving the Multi-Layer section untouched. The result will be fast, unique, and often unexpected combinations that can be used, saved, or just discarded and retried.

It differs from the random Default settings in that it won't produce a collage look, but rather distinct variations. Unlike the default setting, once previewed, it can be edited and rebuilt. We purposely kept the split numbers low for speed sake. But if you like the direction, changing those settings will produce a finer, but longer to generate result.
The reason that there are A and B options is that technically, if you want to rerun Surprise Me again, there's no way to get a reset it without changing the preset in the dropdown. Nothing will happen if you just click it again. So instead of having to select a random preset, then reselecting Surprise Me, we just included two, which you can alternate between. They both operate in the same way. There's no difference beteen them. It just speeds the workflow up a bit.
Text Presets: The block of presests starting with 'Accordian' is set up for use with text, but can also be used with layered graphics by swithcing Sources. They are defaulted to animate multi-line block of text with a slight delay between each line. The normal text panel set up for this is either a single line, or multiple lines but with no skipped spaces between lines (which whould reset the position of the line of text, thus casuing overlapping lines of text)
![]() Simple Wipe: This is an easy set up that disables the Splitter and offsets multiple lines of text. Try using the Lines mode in the Text Panel and dont skip lines.
Simple Wipe: This is an easy set up that disables the Splitter and offsets multiple lines of text. Try using the Lines mode in the Text Panel and dont skip lines.
Background Presets: To generate a background preset, create a series of stills, and select the bottom one.
Background Preset Gallery:
Albers Buren Kusama Picasso Greiman Hofman Lissitzky Mondrian Brody
Text Preset Gallery:

GENERAL TIPS
My build keeps getting cut off: Chances are your'e only previewing the work area, not the whole comp. You can fix this two ways
1) Expand the work area (but then if you rebuild, you'll have to put it back)
2) Change your Preview Range to Entire Duration in the Preview window.
3) Your original layers are shorter than the master comp, so the splits are too short..its possible that they need to be lengthened prior to the build.
4) In one rare case, we saw a text build that cut out at 3 seconds. Unshying the comp revealed the text that was created was only 3 sec long. This was due to an Import>Still Frame preference that was changed from Length of Composition to 3 seconds. If that happens, change it back to Length of Composition.
Things not to do or you'll break expressions: Duplicating layers, splitting layers, keyframing animations prior to build, precomping by selecting layers...or anything else that you get an error message. If you find any more let us know.
*How to Precomp Correctly: Drag the entire comp into a new comp (or comp icon) inthe project window. Don't select layers and precomp normally.
Customizing an In & Out Animation: Since you can't customize the way an animation comes in and out (the out is dealt with as a continuation of the in), the best way to get around that is to create two different builds, then animate the opacity at the resolve point to change between them. Do not split the layers.
3D + MonkeyWipes: As mentioned, MonkeyWipes lives in 2D space. However, that doesn't mean that 3D can't be used in some way. The final layers can be made 3D, as long as the continuously rasterize checkbox is off. However splits can be made 3D in the Source Comp and manually manipulated ther

Diagonal Splits: It's not possible to create splits that are diagonal, since comps are only rectangular....but you can trick it. We suggest rotating the image prior to the build (eg 45 degrees), and rotate it back after the build (-45).
Vector/Raster: MonkeyWipes creates its animations by applying a series of wipe and transform effects to the original asset. Since the Transform effect lives in 2D space, the animation is 2D...and the original image or text does not stay in vector form if it was a vector to begin with. This could become a problem if you're scaling up or using a camera (after turning on the build's 3D switch). The best way to resolve it is to work oversized, then scale down if necessary.
My In & Out animation isn't animating Out: Check to make sure that the end of your Work Area is set to allow for enough time to complete the out move.
My Build is taking a long time: This might happen for a couple reasons:
1) You have too many Splits or Groups for your computer to handle. Try reducing those numbers to as low as possible.
2) You have too many layers in your build for your computer to handle. Try breaking up the build and pre-rendering if necessary.
3) Check to make sure your 3D renderer is set on Classic, not C4D
Extreme Scale: The default setting for Extreme Scale is 1000%...which is big...very big. You'll probably get a soft image if the animation hangs on the split while its at its largest. This can be adjusted in the Effects Panel by reducing the scale, or by using a different ease on the Wipes so it will transition off before the resolve.

Simple Animator: By disabling the Splitter and Wipes, and checking Fade, MonkeyWipes becomes a simple, yet powerful procedural animator.
Multiple Applications: Some interesting effects can be created by applying MonkeyWipes several times to the same single layer build. However, in order to do that, you have to precomp it first. To do this, you need to either drag the original build into a new comp or onto the small comp icon in the project window. Do not select it and precomp it normally. Expressions will break. But keep in mind, the second application will be based on the entire comp space, so it might be a good idea to crop to the region of interest before doing the second build.
Length of Animation Calculation: If you’re trying to create an In or Out animation of a specific length, the way to figure that out would be to add the work area to the Speed duration. So to get an animation that’s three seconds long, you might try a one second work area and a two second duration…or any combination that adds up to 90 frames.
Animations that transition In & Out need to have several other factors taken into account. The first is Hold. The algorthm for an animation that transitions in and out is (2x work area) + (2x Speed) + Hold.
If Offset is in play you have to add or subtract from there...
To help you avoid all that calculating, we created the Sequence and Auto functions in the Multi-Layer section.
Auto Sequence / Auto Offset Settings: This algorithm was put in place in order to save time and allow for a nice, average overlap between transitions. However, as higher, or unusual ease interpolations are used, it's likely they won't work as well as average interpolations. In that case, turn off Auto and adjust the offset using the number box...or manually adjust the layers after the build.
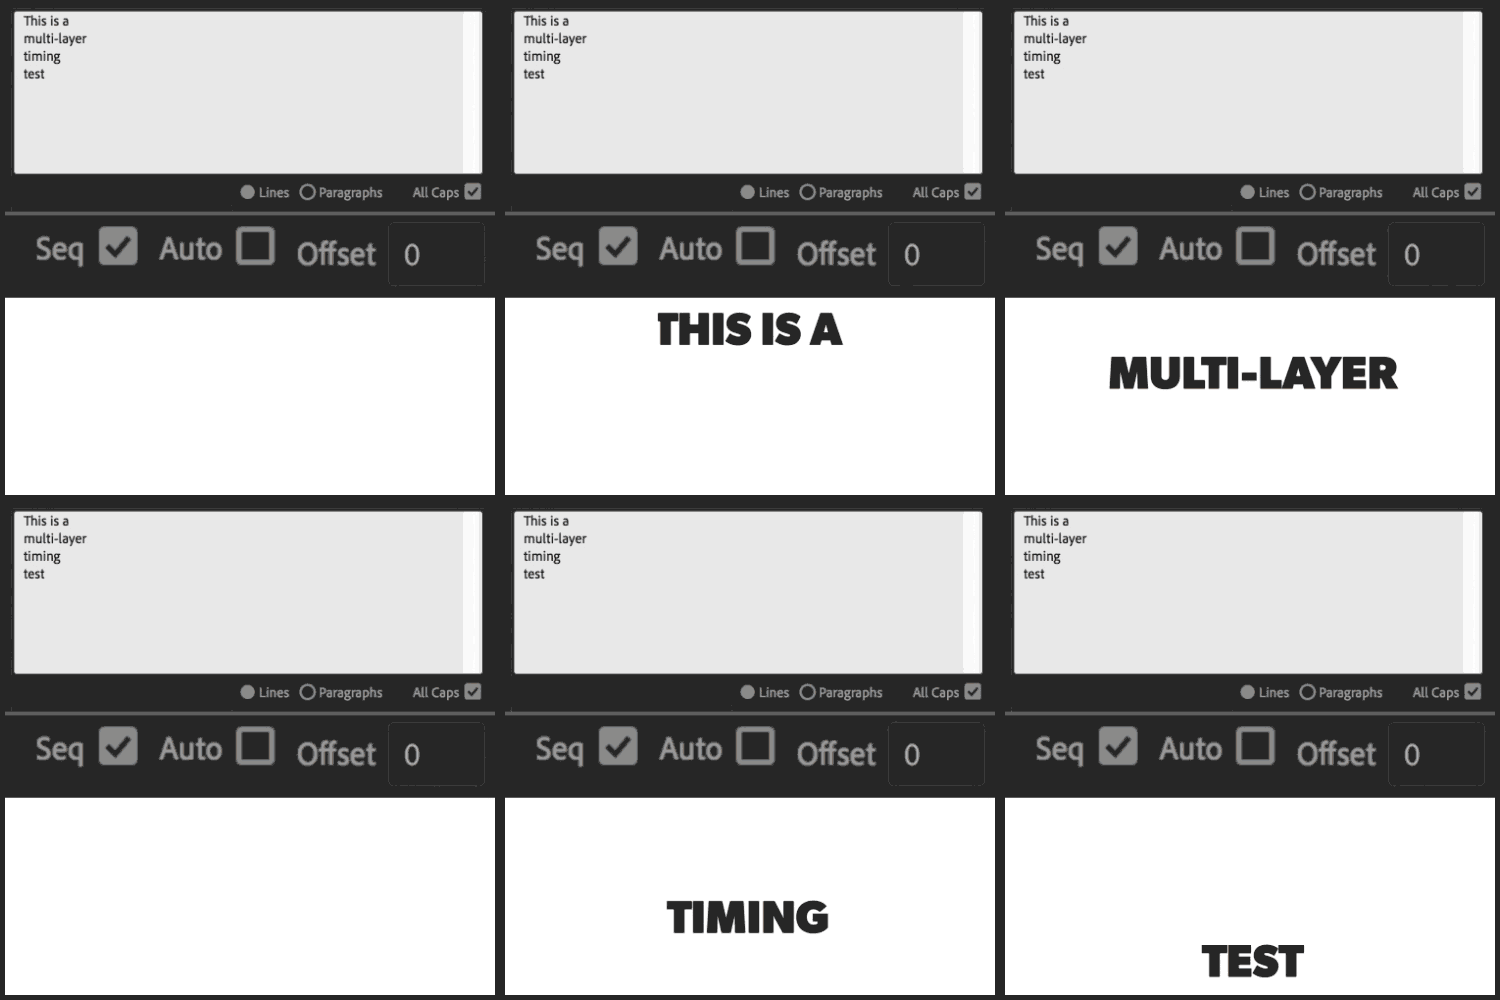
Heres some sample Multi-Layer settings for a basic text layout...

Misc Effects Info: Generally speaking, features that are not active in performing the transforms or wipes are active. For example, in Transfoms, Anchor Point, Skew, Skew Axis, Opacity, Use Composition's Shutter Angle, Shutter Angle, and Sampling are not connected.
Layer transforms can still be adjust and keyframeds
What's Flow? Flow is the order the splits animate on in...Flow Right means that the right column resolves first. Omni is a random order. Certain options are dieabled if the Shape option makes it impossible to proceed. For example, if the Shape is Row, then it is only possible to flow up, down or omni.
Note: If your Transform is set to Move Right, chances are your Flow will be also be Right...its the natural match for that motion.
The Text Panel: If your source is Text, then the Text Panel becomes active. There are a couple options for how it splits up the text layers – Paragraph will group multiple lines of text into one layer, while Lines will treat each line of text as a separate layer. Both will follow the specs in the AE Character and Paragraph windows, and center up the block of text in the comp window. If you skip a line, it will reset the position of the next block of text layers.
You can also switch over to Layers and import your own Illustrator files (which works well for more complex layouts) or generate your own text layers.
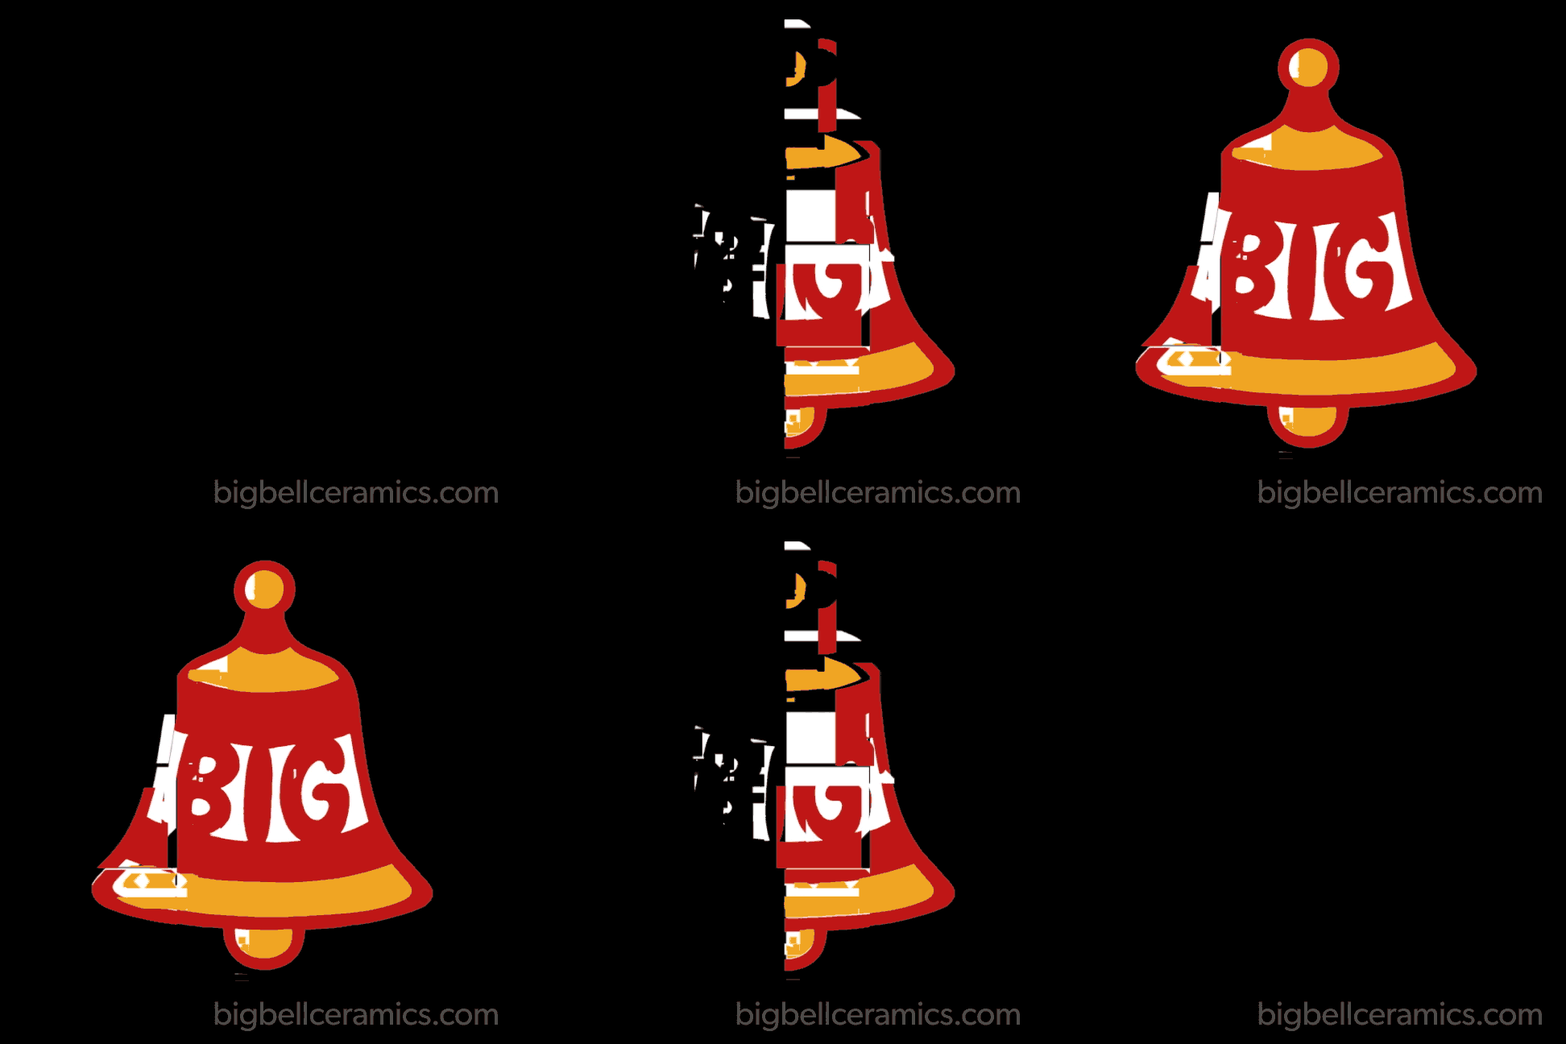
Speed Settings: To help illustrate the different Speed/Duration settings, this animation was created using a minimum speed of 15, maximum 90 - and the same transform and wipe settings (Move Left / Wipe Left / Med Ease / Intensity Medium).

What's an Invert Ease? This is a funky ease that starts and ends fast, but slows in the middle. It's similar to an In & Out ease but the opposite. The end result is this weird, herky jerky move. This example shows a high ease on a horizontal move and wipe, with a 60 frame pause in the middle.
![]()
UTILITIES
 The Clean Utility: This is designed to make the original source (grey'd & shy'd) available to use again. It will clean off the comments and make them visible. Once cleaned, you can use them like any other layer.
Saving your UI settings: When saving a UI setting, any Random setting in the UI will yield different results the next time that it's applied.
There's no defined place to save your xml files. Unfortunately we can't have them show up in the Presets dropdown, so the best place is in your folder project. You can also create another centrally located folder where you can easily find them.
Pop Up Utility: This was designed to help you learn the system...but the warnings could get annoying as you get the hang of it, so we added the ability to turn them off.
MW_CopyCompMarkers: This is a secondary script that will copy comp markers (created when the Comp Marker checkbox is active) onto a pre-existing layer without markers. This is meant to be used in some of our other scripts that use some form of marker sync, such as LayerMonkey or MonkeyCam Pro. You''ll find this located in the MonkeyWipes folder.
Combining MonkeyWipes & LayerMonkey:

Using Layermonkey to layout and animate a camera between MonkeyWipes layers just takes a few seconds.
Follow these steps...
Step 1: Set your text or graphics in MonkeyWipes, turn on Comp Markers, Parent to Null and click Do It.
Step 2: Select the Null and use the CopyCompMarkers script.
Step 3; Launch LayerMonkey, and make the following UI changes: Transition In > Off / Speed> Slow / Order> Bottom / Timing Controls - In Point > 00:00:00 / Distribution> Marker Sync
Step 4: Select MonkeyWipes Null and click Do It!
Step 5: Using MonkeyTools, Click Unshy Text / Images, and turn off all the Continuously Rasterize checkboxes.
Step 6: Render away.
*Note: As mentioned previously, working oversized might be a good idea.

