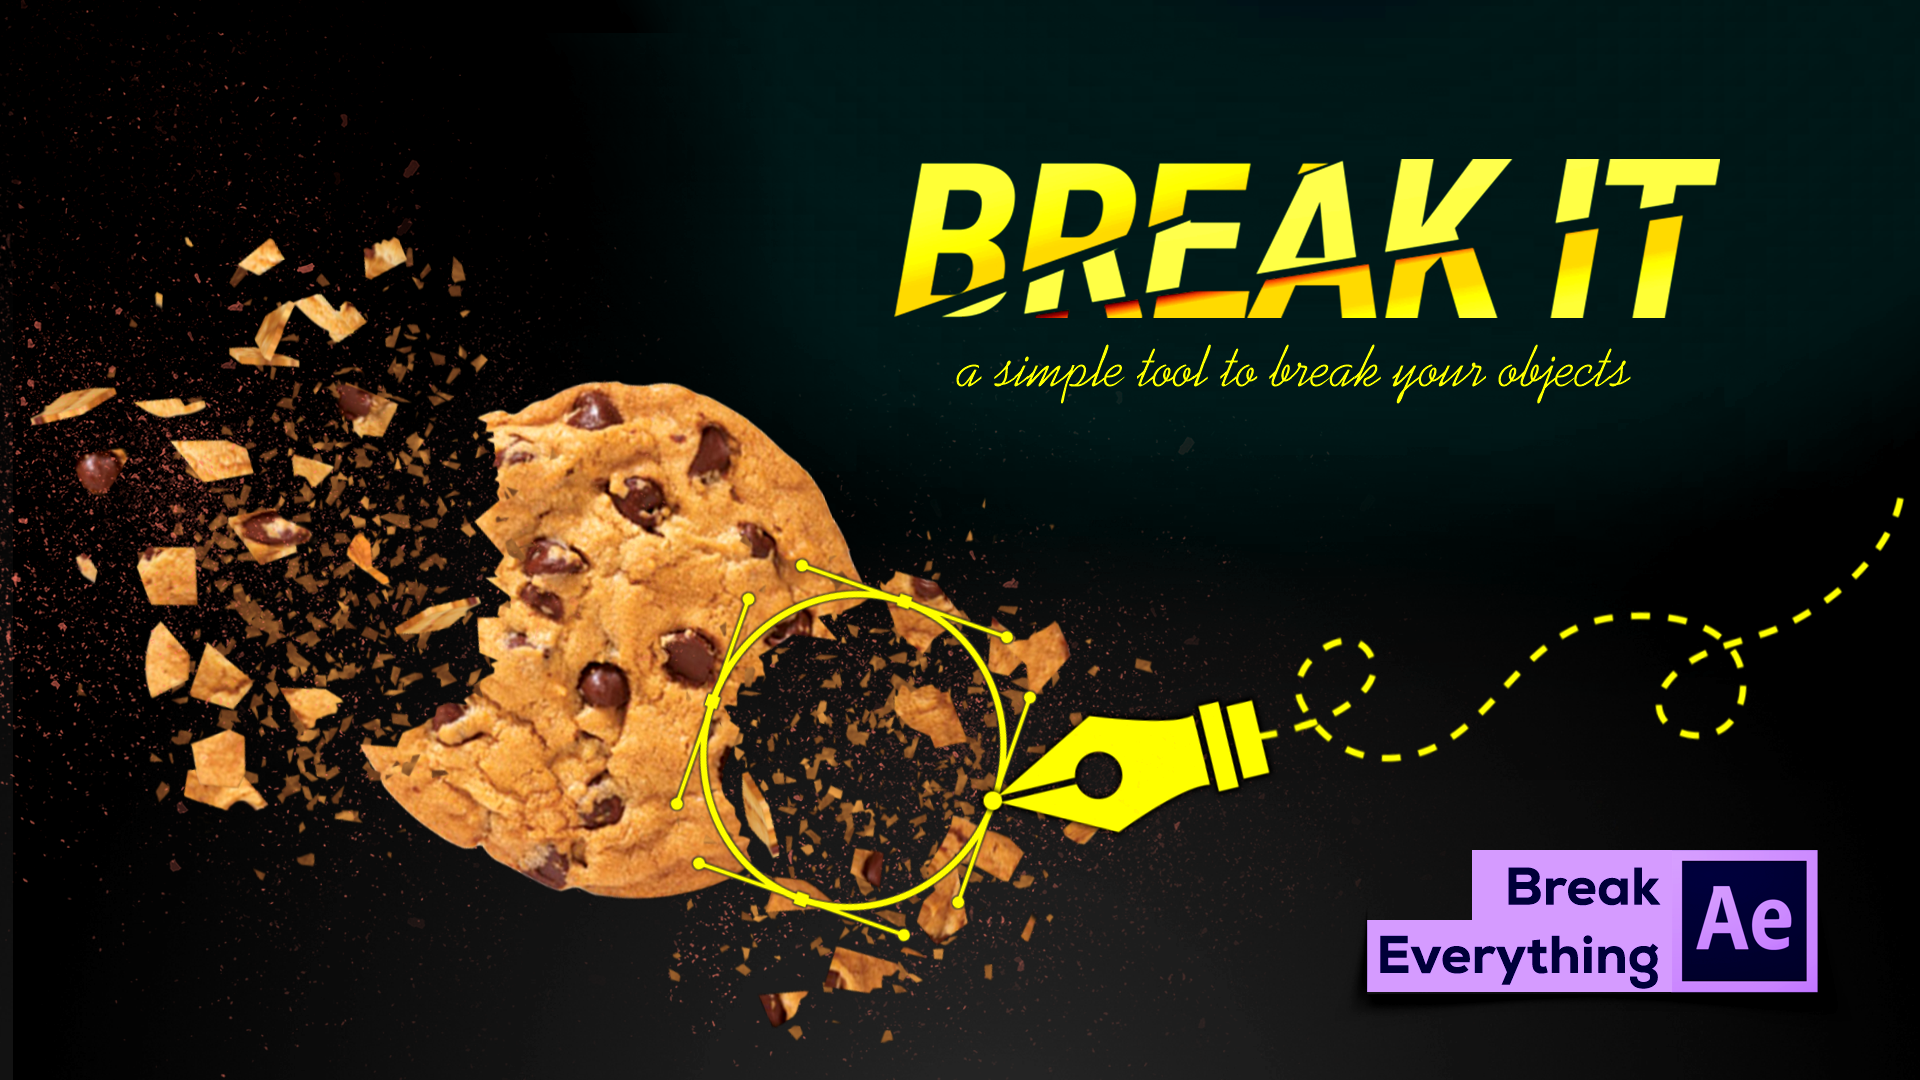
Break It!
-
 Break It!
A simple-to-use tool to shatter and break objects in After Effects.
https://aescripts.com/break-it/
Categories
- All Discussions2.3K
- General406
- Product Discussions1.8K
 Break It!
A simple-to-use tool to shatter and break objects in After Effects.
https://aescripts.com/break-it/
You can try this extension for free.
For those considering purchasing this plugin, This plugin/rig is slightly above average, providing a nice basic rig suitable for beginners or those needing to quickly create this effect for fast-turnaround projects. Delving into the rig's mechanics, it essentially employs After Effects' default shatter effect, linked to a few sliders and occasional expression codes. As others have pointed out, it's evidently constructed following this tutorial - The disparity between this rig and the tutorial lies in the shatter effect's connection to various sliders. While the rig incorporates some simple expressions and markers to facilitate animation for newcomers, it doesn't rely heavily on complex expression codes, to be frank.
There's room for improvement to enhance the rig, such as adding a rotation slider for the pattern tile and extrusion depth for thickness, to name a few.
Overall, it's a neat, compact rig that aids production efficiency for both beginners and experts. However, the price tag of $19 seems rather excessive. Considering the current version (V1.1.2), I'd find it reasonable if priced between $2.50 to $5. At its current cost, $19 feels overpriced as of the time of writing this comment.
Nice Script, i am here because of the PreComp size and FPS.
I see, there is already feedback.
I managed to change the stuff by hand.
Is there a Date for the Update, known?
Thanks!
Hi ,
Please see this FAQ to see if it helps:
https://aescripts.com/knowledgebase/index/view/faq/zxp-cep-extension-won-t-open/
If your problem is still not solved, please also read this:
Please right-click and select 'Custom Installation' and make sure you are
installing into the same version of After Effects that you are using.
Please restart after installing.
https://aescripts.com/knowledgebase/index/view/faq/aescripts-aeplugins-manager-app-faq/#install-latest
If you have any issues please open a support ticket for assistance: https://aescripts.com/contact/?direct=1&product_id=2138
Cheers,
Masoud Ghazi
when i get to main comp there no effect at all just [image-precomped], then i figure it out on project panel folder there comp name [break] when i drag to main comp effect show and worked