Map Ramp
-
Compatibility After Effects Please check exact version compatibility under the "COMPATIBILITY" tab below
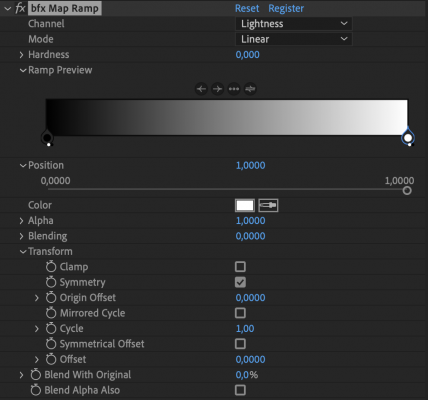
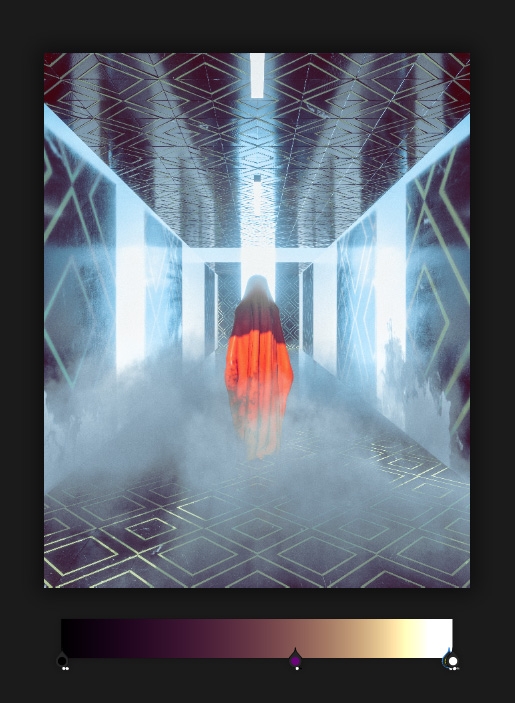
Map Ramp creates a gradual blend between multiple colors by using a gray-scale source as a base to map gradient. Any of 5 channels can be used for mapping - Red, Green, Blue, Alpha or Lightness.
Effect can be used for color correction, creativity and even matte tool with the help of additional options. You can use up to 6 different interpolation modes by using additional settings.
IMPORTANT: from version 1.1.0.0 the internal data of the plugin was changed, to continue with existing project click an "Update" button, please. Video explanation:
Interpolation methods
We are happy to introduce the four interpolation methods with their modifications and animations to visualize the differences between them.
Linear mode is the simplest and most common way to blend the colors. It can be modified by Hardness additional parameter to hard, sharp blending between colors. Slider provides a smooth way to switch between modes.
Variable mode also provides two different ways to interpolate the colors. Maximum value for Nonlinearity parameter makes smooth, ease-ease interpolation. But the minimum value of the parameter, on the contrary, sharpens the transition between the colors.
Bezier one is uses up to 4 points and makes a smooth and attractive blending between them. What is an important thing is that colors will be mixed between those 4 points but the start and finish remain untouched. You can use more than 4 color knots, of course, but the rule is the same for every 4 points.
B-spline mode is a very natural and smooth way to interpolate the colors. There are no limits for the number of points to blend between, no rule of 4 points. To achieve a smooth and seamless gradient place the knots evenly.
But B-spline mode can also provide a way to achieve a sharp transition. Just place 3 knots near to each other.
Gradient examples
See the short video tutorial how to use the MapRamp plugin:
User Interface
Effect provides some additional parameters to manipulate every knot separated and the whole effect. Every knot have the same set of parameters and parameters specifically for a selected knot is visible. All the parameters also have a visual representation on every knot. Knot Position and Color is clearly presented, but Alpha and Blending parameters is visualized by the two small points under every knot. Left one is Alpha and brightness of those two points represents a values respectively.Controls
- Select the left knot on the ramp.
- Select the right knot.
- Distribute - place all the knots between first and last knots evenly. Double click to place between the start and end of the ramp. The icon will be changed after the first click to reflect the new feature.
- Flip - mirror the knots positions.

Knot parameters
- Position - is a place of selected knot on ramp.
- Color - is a color of selected knot.
- Alpha - change resulting Alpha channel of pixels.
- Blending - amount of mixing between knot color and original color from the source layer.

Effect parameters
- Blend With Original - working in familiar way, mixing the gradient and an original source colors.
- Blend Alpha Also - if Alpha channel was changed it is a way to revert it to original one from source.
![]()
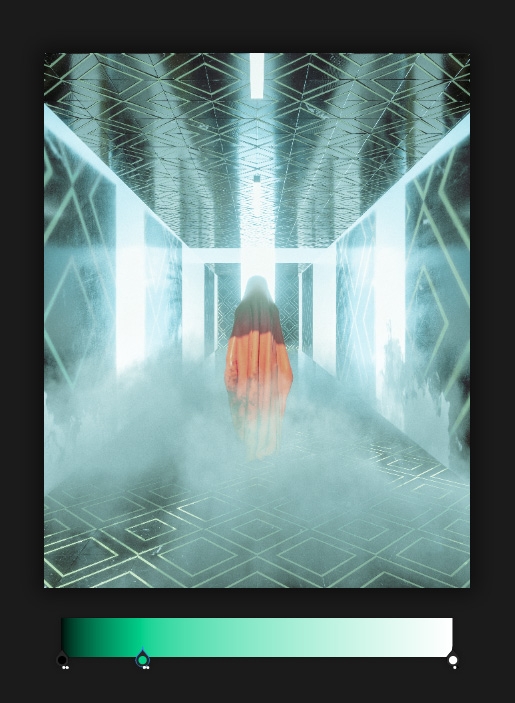
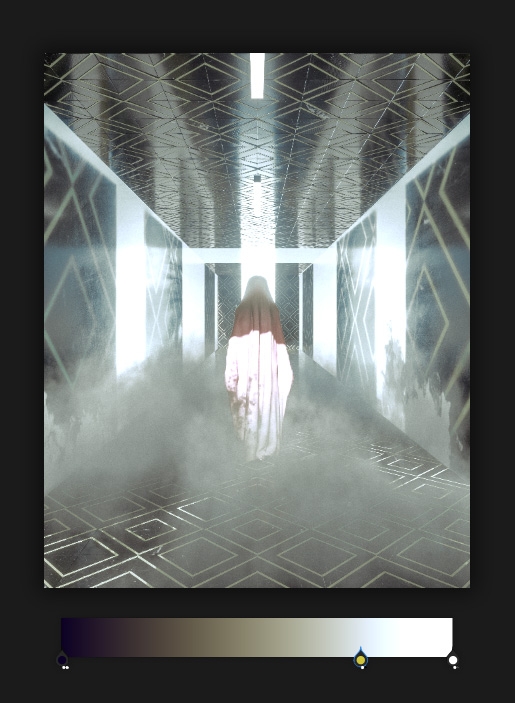
Color correction examples
| After Effects | 2023, 2022, 2021, 2020, CC 2019, CC 2018, CC 2017 |
|---|
1.1.0.1 (Current version) - May 10, 2022
- The update button added to adopt the previous version plugin to the new one.
- Linear mode now have the two different variations
- Extra transform parameters added
- M1 and Beta Ae now supported
1.1.0.0 - May 2, 2022
- Linear mode now have the two different variations
- Extra transform parameters added
- M1 and Beta Ae now supported
1.0.4.0 - Jan 24, 2022
- select previous knot
- select next knot
- spread knots local/global
- flip ramp
Transform folder added with cycle, origin offset, offset parameters and some variations of them.

 Adding to cart...


