Moglyph FX 3
-
Compatibility After Effects Please check exact version compatibility under the "COMPATIBILITY" tab below
Well known by Cinema4D users, Mograph still remains one of the most powerful and robust procedural cloning and animation module.
AfterEffects users can taste a little bit of its power for free, thanks to the "Fracture" and 2 "Effectors" (Plain and Random) that come with the Cinema 4D Lite version, packed with every AfterEffects CC version. But it is definitely limited and frustrating, since the most interesting tool is still missing : the CLONER !
How many times a motion designer has to duplicate and animate sequentially a bunch, sometimes dozen, of similar graphic shapes in their projects ?
Of course you can animate your designs with keyframes, then duplicate them, sort them with a time offset... but it is time consuming and what if you are asked to change the whole animation later ? Well, you'll have to redo the entire process, again and again, until your client is really satisfied !
Some existing tools aim at making this process way more efficient and less tedious, but you'll still end up with a lot of duplicated layers in your timeline, and, who wouldn't prefer to keep a well organized timeline, just like in Cinema4D, where you can just deploy or close objects hierarchies to keep things tidy up.
Introducing... Moglyph FX, a mograph like toolset that allows you to
clone some predefined glyph shapes and animate them proceduraly,
all within one single text layer !
Moglyph FX comes with a neat UI panel divided in 3 tabs, that let's you concentrate on how you'll first generate and manage your glyph clones first, then on how you'll want to animate them thanks to the different effectors available. The third helpmate tab (introduced in version 2) gives you some useful tools to optimize your Moglyph FX setups, create new custom fonts, change settings (new in V3) and retrieve the products and licenses informations.
NEW in version 2 !
- The UI Panel has been changed with a brand new third "HELPMATE" tab (that contains some Effectors utilities and mostly a new Assistant that allows you to create a new custom Moglyph font interactively)
- 2 new GROUP and SOUND effectors
- Support for 3D per Glyph (new X and Y rotation properties for every cloner and every effector)
- Ability to change the dimension (2D or 3D) and the colors of the Cloners on the fly, as well as the Effector's Falloff settings
- New transform and style options available on a per Glyph basis (new Glyph-N pseudo-effect)...
NEW in version 3 !
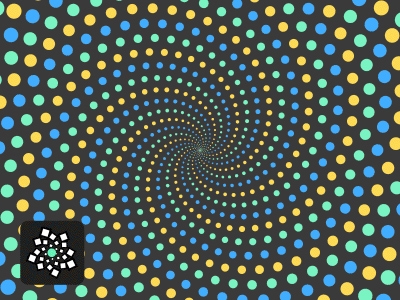
- A Brand new Fibonacci Cloner (available only for AE CC2020+) that allows you to create mesmerizing uniform spiral patterns
- The Delay Effector has been completely rewritten and is now way more powerful and flexible
- A new Post Effects panel lets you apply 5 stylish effects (Symmetry, Repetile, Kaleidoscope, Polar Coordinates and Metaballs) in 1 click !
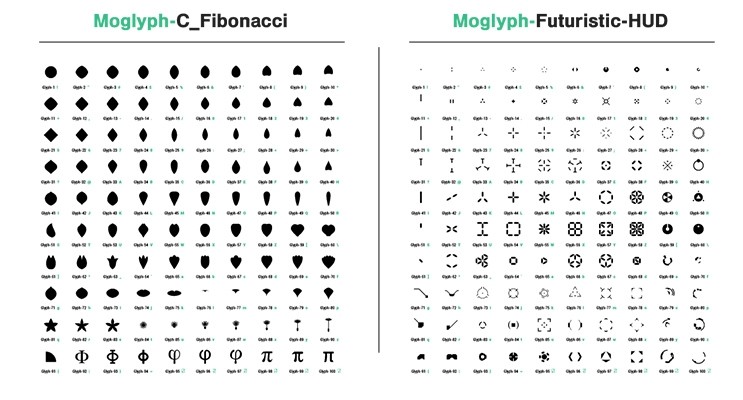
- 2 new cool Fonts to be used with MoglyphFX (Fibonacci and Futuristic HUD)... There are now 1500 Glyphs available !
- Performance improvements for CC2020+ users
NEW in version 3.5 !
- New shortcut : Hold down "SHIFT" while clicking the "Delay Effector" will use a cool "Flicker appearing" animation instead of the default "Elastic Position Y" preset
- New shortcut : Hold down "SHIFT" while clicking the "Formula Effector" will use a useful "Random 90° direction preset" instead of the default "Wavy Scaling" animation
- You can now duplicate a Cloner layer that has a Random Effector and maintain its Random Seed (works only with the "Wiggle" mode)
- A new nice "Moglyph_Celebration" font has been added useful shapes for any occasion : Halloween, Christmas, EasterEggs, Birthday/NewYear party and Valentine's Day : perfect for trying out the new maintained Random Seed from Random Effectors on several layers as explained above !
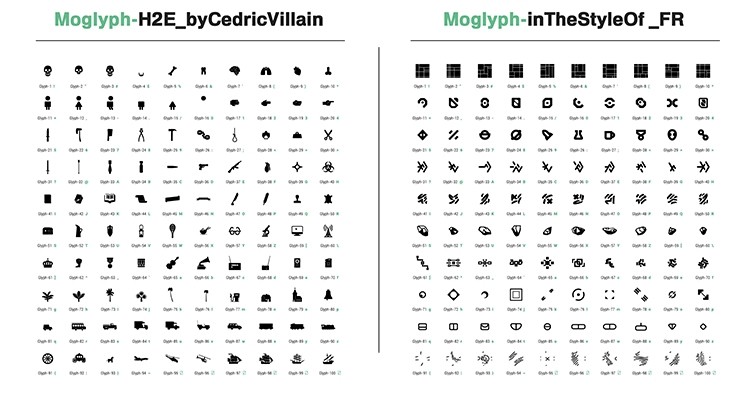
"inTheStyleOf_FR" collaborative font
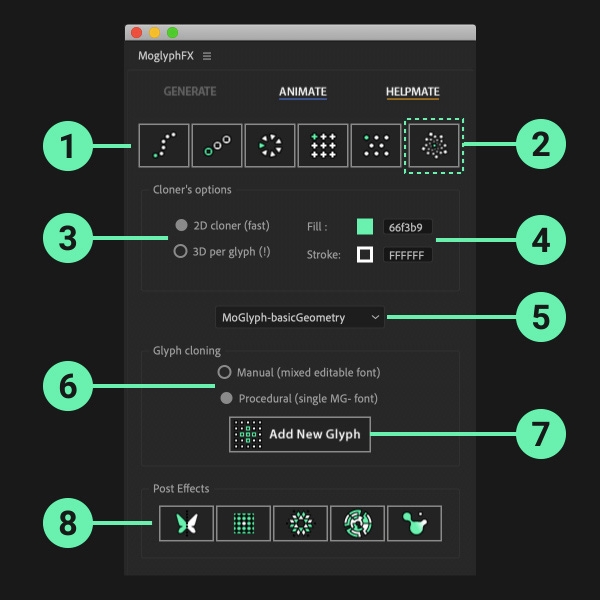
Here are the two main tabs (GENERATE and ANIMATE) and their tools shown side by side :
The Generate tab
- Create a Cloner setup
Click on one of the different Cloner setup buttons. From left to right :
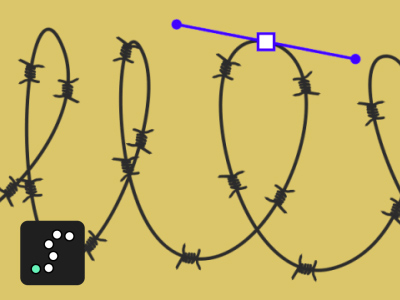
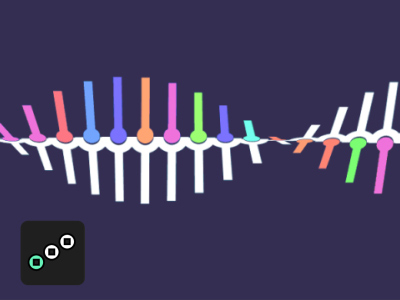
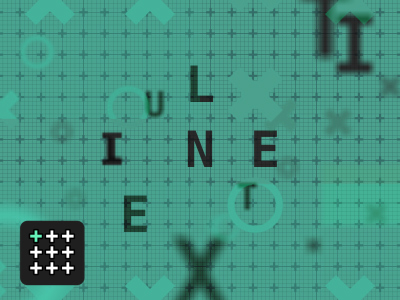
Spline Cloner (arranges clones along a path), Linear Cloner (clones are arranged inline), Radial Cloner (clones are duplicated in a circular shape), Grid Cloner (clones in grid array) and Honeycomb Cloner (similar to the grid but with alternated odd and even amounts of clones in the rows). - New in V3 : Fibonacci Cloner
This awesome new Cloner type allows you to create mesmerizing uniform spiral patterns, like the ones you would find in nature : sunflowers seeds, conepines scales, succulente plants leaves... Note that this feature is only available for AE CC 2020 and later.
See it in action in the dedicated V3 tutorial's section ! - 2D to 3D and vice-versa
Added in V2, this option allows you to change the dimension of a selected MoglyphFX layer on the fly (a 2D text layer will become a 3D one by clicking the 3D radio button, and vice-versa). Any new Cloner you create will take this setting into consideration but you can change this afterwhile. - Change the Cloner's colors
Added in V2, this option allows you to change the fill and the stroke colors of a selected MoglyphFX layer on the fly. Any new Cloner you create will take this setting into consideration but you can change this afterwhile too. - Choose a Moglyph font (or a custom one)
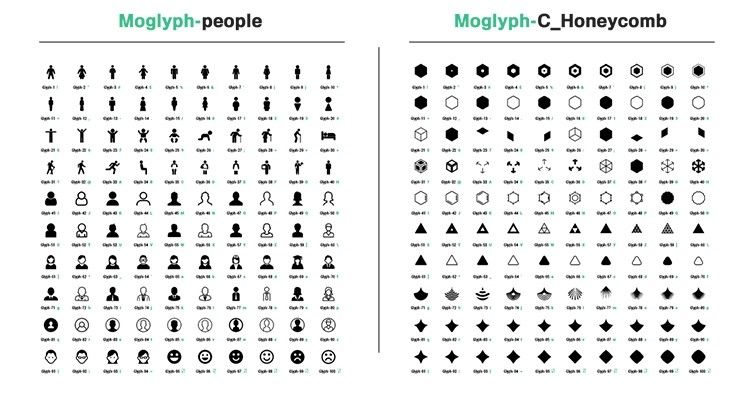
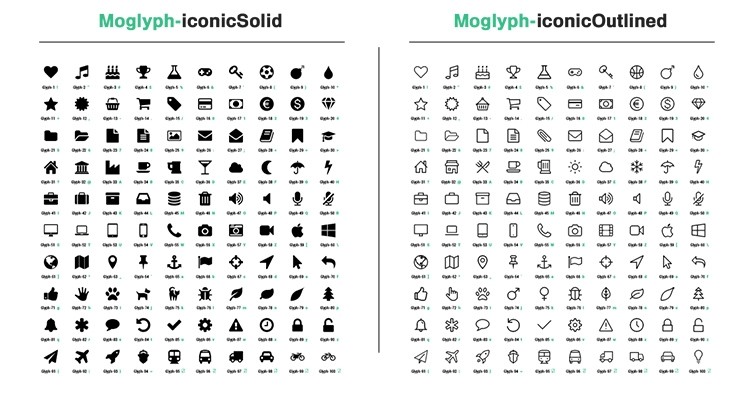
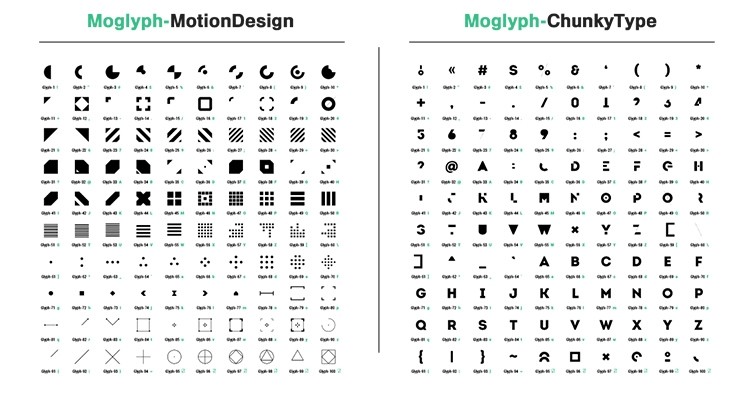
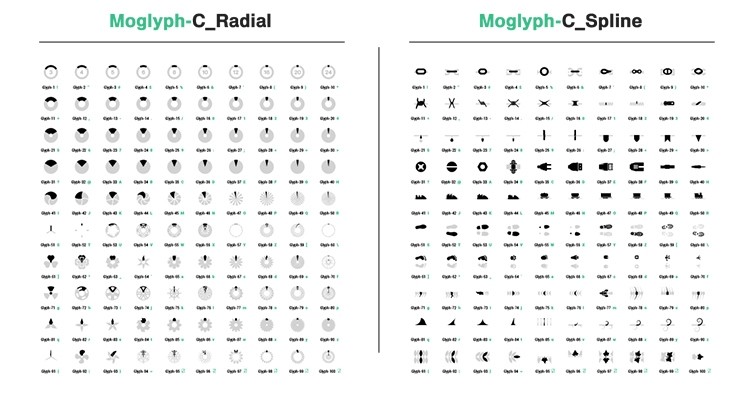
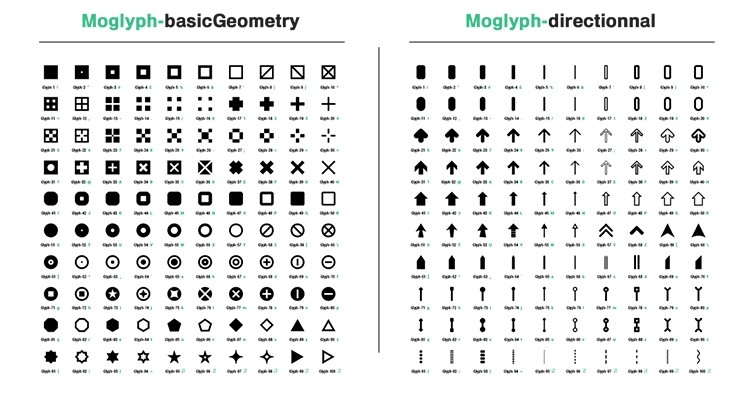
This dropdown list contains all the thematic Moglyph fonts available (with 100 glyph shapes in each), and the option to use a custom font (works like Cinema4D's MoText tool in this case). More glyph fonts will come in the future, you'll find them here after a correct installation of the assets. - Choose how the glyph cloners should be populated
Choose one of the 2 modes available : Procedural (by default), allows you to automatically generate a specific amount of glyph clones and arrange them by iteration or randomly if your have created more than 1 glyph shape ; Manual is less common, but it can be useful if you want to create manually your own "sentence" of glyphs, one by one, by picking them in the Glyph panel. - Add new glyph shapes to your cloner
By clicking this button while a cloner layer is selected, you'll open up a "Glyph panel", just like in Illustrator, that allows you to replace the default glyph shape (if you choose only one glyph), or to create iterations or random arrangements with multiple shapes.
Once you have finished your selection, just close the window (you'll be able to add more glyph later, at any moment, by re-clicking on the Add New Glyph button). - New in V3 : Post Effects
Apply some cool post-effects to any layer that can have some Effects on it (you are not bound to use this with a layer generated by MoglyphFX !). Text, Shape layers or even footage... whichever kind of layer you have, just select it and click on one of the 5 buttons available (from left to right : Symmetry FX, Repetile FX, Kaleidoscope FX, Polar Coordinates FX and Metaball FX).
Please refer to the V3 tutorial section dedicated to Post FX !
The Animate tab
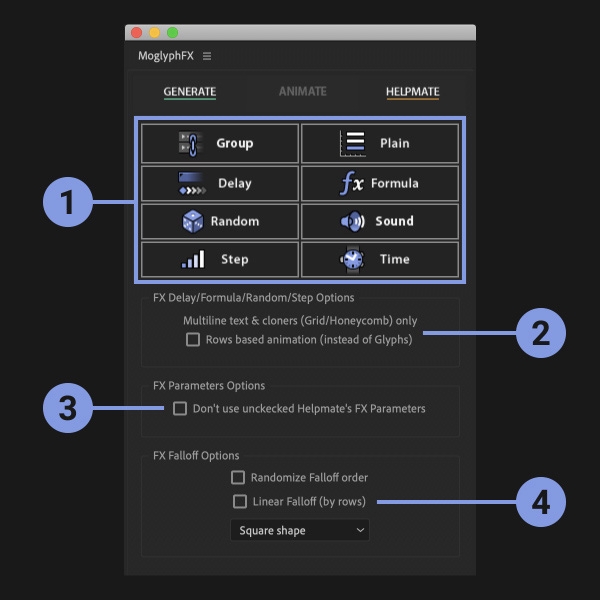
- Animate the clones with the awesome Effectors
Just select a cloner layer generated by MoglyphFX or a regular text layer, then click of one of these buttons :
The Group Effector allows you to link the Strength and the Falloff values (From/To, Offset, smooth/easing) of several Effectors (just select them in the Effects panel and click this button) ;
The Plain Effector applies values uniformly, as defined in the Parameters effect's group, to all the clones or just a portion of them if you play with its Falloff ;
The Delay effector, totally revamped in v3, animates the clones Sequentially, Inwards/Outwards or Randomly from their initial state (you can invert its keyframes to reverse the animation) to some specified parameters, with some automatic secondary motion (choose among some awesome Animation Remapping Presets : Elastic, Bounce, Smooth, Flicker, Quantize).
The Formula effector applies parameters values based on 1 of the 3 different formulas available : Wave (sin), N selection (mod) or Random direction (just set the Rotation Z to 360° and play with the N slider to set the number of orientations).
The Random effector animates your clones randomly, in an organic way, based on the parameters you specify. You are not bound to have some animation : just set the Animation speed if you want a still design.
The Sound effector : select your Cloner or Text layer first, then select a layer that has some audio with the SHIFT key, and click on this button : it will animate the Glyphs based on the sound wave of your audio layer ! Refer to the dedicated section of the V2 tutorial for an in depth overview
The Step effector : play with the Curve's keyframes to reshape your clones, from the first to the last, directly in the AfterEffects Graph editor, just as you would do in Cinema4D's "Spline graph" !
The Time effector creates a perpetual motion onto your clones, based on the values specified in Parameters. No keyframes are needed ! - FX Rows based animation (instead of Glyphs) option
This option is only useful for multiline Text and Cloners (Grid and Honeycomb) layers. The only Effectors that can benefit from it are the Delay, the Formula, the Random and the Step Effectors. (you won't see any change for the other ones). Any new Effector that you will apply to a layer by clicking the Effectors buttons will have their Effector (=Expression selector) based on Lines if this option is checked on, or on Characters if its is check off. But you can change them on the fly afterwhile too, by selecting one or more compatible Effector(s) in the Effects panel, and by changing it ! - FX Parameters Options
This option is useful only if you have unchecked some of the FX Parameters' checkboxes within the Helpmate tab. In this case, the corresponding properties won't be added to the Text Animators Properties and you'll end up with less expressions (so it will be lighter and faster to compute). You can always re-add them later if needed by adding them through the Helpmate tab afterwhile (please refer to the tutorial's dedicated section) - FX Falloff Options
The Randomize Falloff order gives a more chaotic Falloff (randomly chooses the next clone to animate while animating the completion slider) ; the Falloff (by rows) option is only useful for multiline Text and Cloners (Grid and Honeycomb) layers : it will affect the clones line by line instead of character by character. The last Falloff Shape dropdown list let's you defines the shape of the text layer's Range selector. Any new Effector that you will apply to a layer by clicking the Effectors buttons will have their Falloff (=Range selector) based on these settings. But you can change them on the fly afterwhile too, by selecting one or more Effector(s) in the Effects panel, and by tweaking these settings !
Moglyph FX allows you to use these C4D like Cloner setups (drag your mouse over for animation)
SPLINE Cloner (= "Object" in C4D)
LINEAR Cloner
RADIAL Cloner

GRID Cloner
HONEYCOMB Cloner
FIBONACCI Cloner (CC2020+ only !)
Moglyph FX comes with the following C4D Mograph like effectors (+ the Sound Effector since V2) :
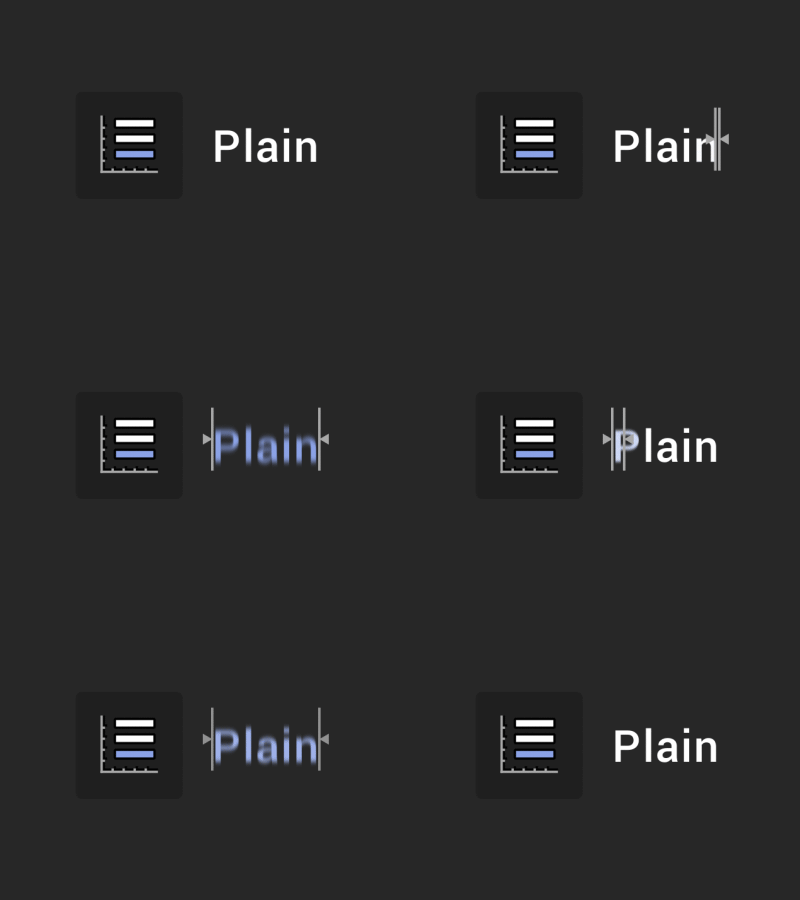
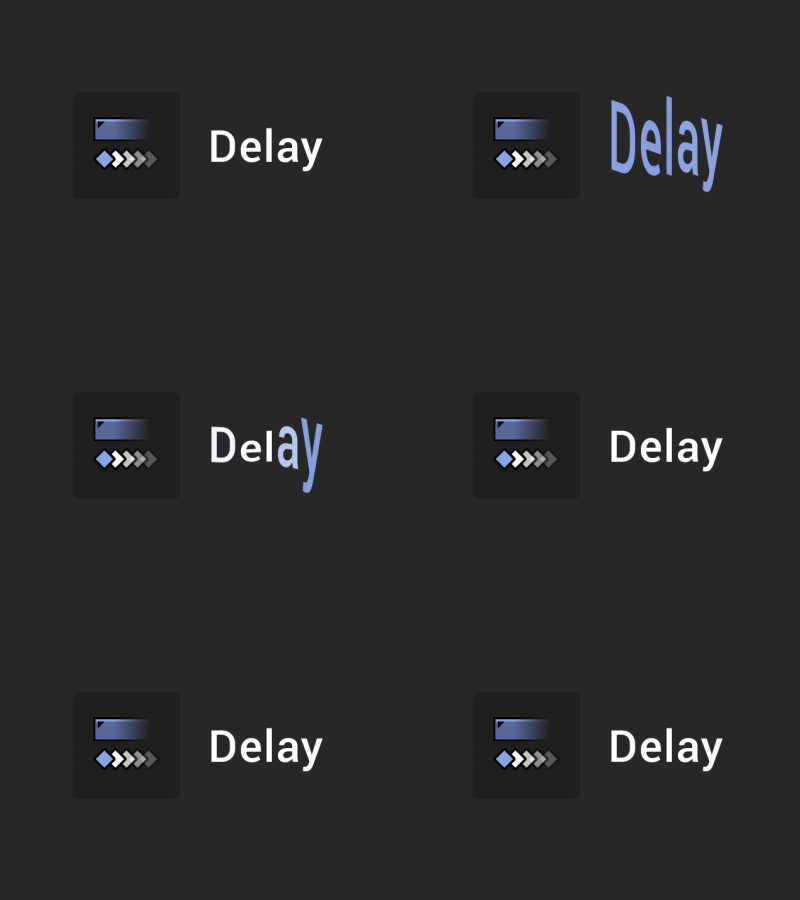
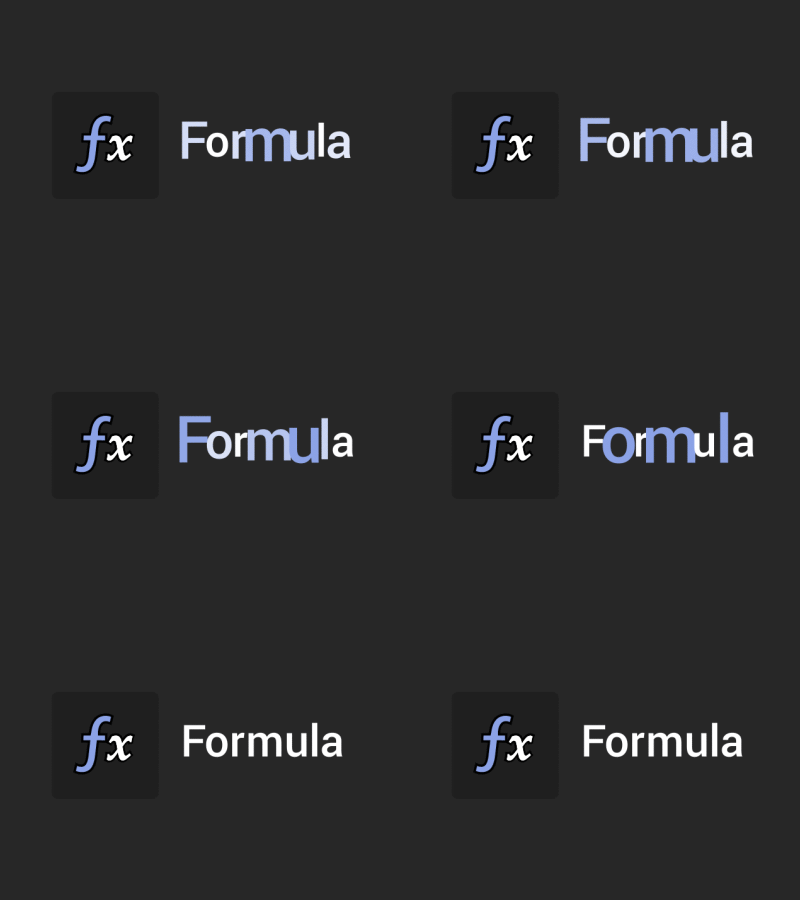
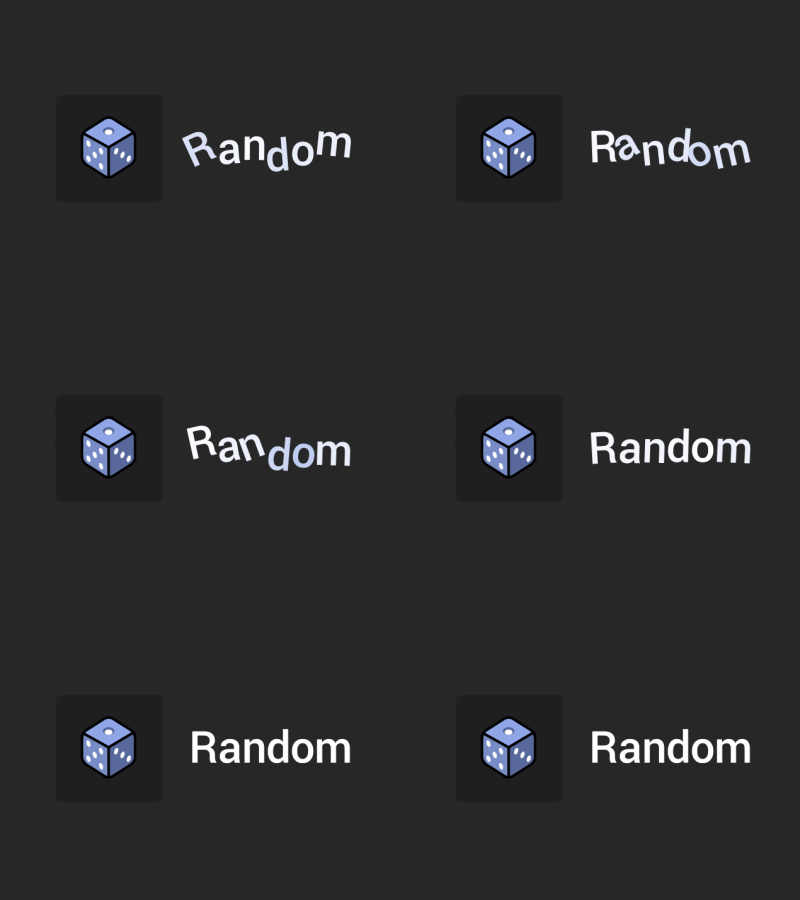
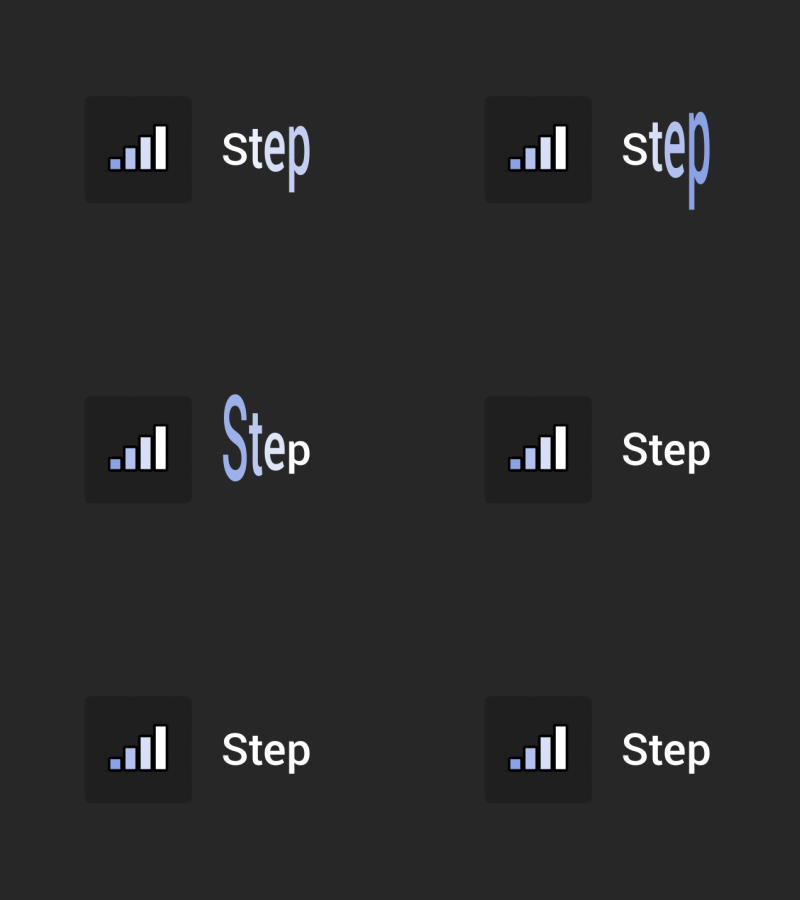
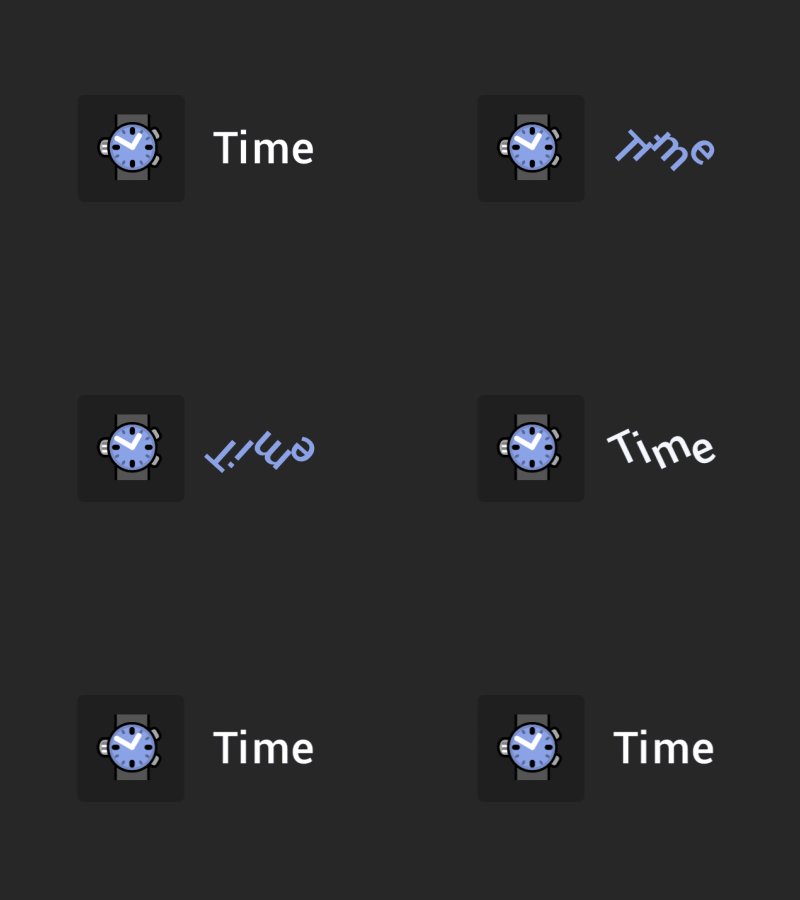
The MoglyphFX cloner's properties, generated glyph shapes and effectors are all handled by a single text layer, which allows you to :
- Keep your After Effects timeline light and clean (and you can add as many cloner setups as you want in a same comp)
- Extrude the generated glyph shapes within Element 3D (just choose your Moglyph Cloner layer as a custom Text & Mask layer in E3D)
- Use "3D per character" to animate the glyph clones in 3D (you can customize it and add any animator or property like any text layer)
- Use 3rd party text scripts and presets on top of the cloners (animate clones with cool tools like Animation composer or Text Evo)
- Save your setups as reusable presets (drag and drop all the Cloner's text groups, mask and effects in the preset library to re-use them later)
- Use the thematic Moglyph fonts in Illustrator’s glyph panel (perfect for the design and storyboarding process)
Tutorials
Please click on the VIDEOS tab above for a full series of in-depth video tutorials. We strongly recommend new users to begin with the 2 last - most updated - videos ( "Quickstart tutorial (updated for v2 and v3)" and "What's new in V3 - Full video overview") !
Installation
- First install all the Moglyph fonts (like you would install any other font on your OS) contained in the folder called Fonts > MoGlyph-OlderFonts and MoGlyph_NewFonts (users who had installed previous versions may only have to install these new ones)
- Allow Scripts To Write Files and Access Network by turning on the corresponding option in your AE Preferences > General tab.
- Either use the aescripts + aeplugins manager app (easiest) or manually copy both the "MoglyphFX.jsxbin" file and the whole "MoglyphAssets" folder, then paste them at the same level inside your Application > After Effects' current version > Scripts > ScriptUI Panels folder.
- Restart After Effects
- Launch the toolset called "MoglyphFX.jsxbin" from the Window menu, then enter your license code.
- Depending of your OS and permissions, a few more steps may be needed ; just follow the instructions that appear on the screen and restart AfterEffects again when the message asks you to do it.
- Once AfterEffects has re-opened, dock the panel wherever you want in your AE's layout and you are ready to go !
- Note to CS6 users : you can still use the V3 but you will always end up with annoying "Missing effect" error messages (it will still work anyway). In the V3 zip folder you won't find any PE installer to install the Pseudo Effects properly, so, if the error messages bother you too much, please stay with the V2 of the product instead (of course you won't be able to use the V3 new features and improvements in this case ; if you want to, please upgrade your After Effects version !)
Important Disclaimer :
Some of you may have noticed that another tool, called Cloners+Effectors available here on aescripts.com, aims at animating clones in same Cloners setups procedurally, like Mograph as well. It is true, and this tool is really cool and efficient for this purpose, so... What are the differences between both products ?
In order to help you make your choice, here are a few arguments and comparisons :
- Moglyph FX relies entirely on Afters Effects Text layers, which means that you will always be bound to use some one-color glyphs, provided in the different thematic Moglyph Fonts or created by you thanks to awesome Custom Font Creation Assistant introduced in V2 (in the Helpmate tab). This is the main limitation of Moglyph FX and where it really differs from its contender Cloner+Effectors, since this one lets you use any layer (that can be precomposed with animated graphics in it) as clones. And this is mainly why, Moglyph FX costs almost half the price of Cloners+Effectors.
I will do my best to provide as many useful and nice glyph shapes as I can in a continuously growing font library, and the template available lets you create your own glyph fonts, but not being able to clone and animate some layers is definitely something to keep in mind while purchase this product. - Another major difference between both products is how the "Falloff" options for the Effectors affect the clones. In Cloners+Effectors, you'll find the 2 most used Falloff shapes that Cinema4D (and other procedural modules like Mash for Maya) offers : "Linear" and "Radial", which allows you to animate your clones just by dragging the Effectors accross them, just like in Cinema4D. Moglyph FX is an entirely different beast while dealing with Effectors falloff ; since the effectors are in fact some complex "text animators", you'll never be able to separate their position from the cloner and, then, to animate your clones in this way. Moglyph FX Effectors' falloff rather consists of a bunch of "completion" sliders (with a "Start", a "End", an "Offset"...) than will help you animate your clones one by one, depending of their index order, from the first to the last by default, or row by row if you check the corresponding option in the "Animate" tab. Note that you can randomize these clones indexes with another cool Effector's option from this tab, if you do not want to animate clones in a sequential way.
- Moglyph FX offers ALL the 5 Cloner types that Cinema 4D has (and even more since C4D doesn't even offer a "Fibonacci Cloner" !), including the really awesome "Spline cloner" (which I use a lot in real productions) and the "Honeycomb" that appeared for the first time in Cinema 4D R18 versions, while Cloners+Effectors has only the Linear, Radial and Grid types. Note that Cloners+Effectors offers another great feature that mimics the "Fracture" object from C4D (called "Cluster"), that MoglyphFX will never be able to reproduce due to After Effects Text layers limitations.
- Since Moglyph FX is based on presets with all the properties linked to some effects, it is faster (almost in realtime, just by playing with "Count" slider) to generate a large amount of clones in your comp, while Cloners+Effectors is a bit slower on this point because of the way the script duplicates each layer. But keep in mind that both products, whichever it is, will become to slow down your composition's preview and render, as soon as you try to animate a large amount of clones with the help of effectors. This is totally normal, and this is mainly due to After Effects own limitations. If you feel that you have reached the limits and it slows you down in your workflow, just consider learning and buying a real 3D software like Cinema4D (but even there, large amounts of clones can become very slow !).
- Moglyph FX is based on Text layers, so you'll benefit from all the arguments already written above (see the paragraph called "The MoglyphFX cloner's properties, generated glyph shapes and effectors are all handled by a single text layer, which allows you to...")
Video overview - PART 1 : Cloners and Procedural cloning mode
Video overview - PART 2 : Moglyph/custom fonts and Manual mode
Video overview - PART 3 : Updates, Plain effector and Effectors basics
Video overview - PART 4 : Delay, Formula, Random, Step and Time effectors
Video tutorial - New V1.5 feature : Create and use your own Moglyph font !
What's new in V2 ? Full Video Overview
What's new in V3 ? Full Video Overview
Quickstart tutorial (updated with V2 and V3)
Tutorial : Create Animated Patterns in After Effects with MoglyphFX 3.3
Tutorial : Recreate 3 After Effects' components with MoglyphFX
Tutorial : Recreate the Love, Death & Robots intro with MoglyphFX
Quick Start Tutorial : all you need to know before getting started
| After Effects | 2025, 2024, 2023, 2022, 2021, 2020, CC 2019, CC 2018, CC 2017, CC 2015.3, CC 2015, CC 2014, CC, CS6 |
|---|
3.8 (Current version) - Nov 20, 2022
- New "MoGlyph_LiquidContainers" font
3.7 - May 5, 2022
3.6 - Dec 30, 2021
3.5 - Oct 15, 2021
- fixed a bug with the Random Effector (in previous versions, the parameters of a secondly added Step Effector were not responding to the correct noise settings; it is now fixed !)
- You can now duplicate a Cloner layer that has a Random Effector and maintain its Random Seed (works only in Wiggle mode)
- Added a "Shift" shortcut on the Delay Effector in order to use the "Flicker appearing" animation instead of the default Elastic motion on Pos.Y
- Added a "Shift" shortcut on the Formula Effector in order to use the "Random 90° direction" preset instead of the default Wavy Scale Animation
3.3 - Mar 24, 2021
- fixed a bug with the Step Effector (in previous versions, the parameters of a secondly added Step Effector were not responding to the correct curve ; it is now fixed !)
3.2 - Feb 17, 2021
3.1 - Jan 9, 2021
3.0 - Nov 26, 2020
- New : font : New "Moglyph-C_Fibonacci" font
- New : font : New "Moglyph-futuristicHUD" font
- New : "Post FX" panel in the "Generate" tab, where you can apply 5 different cool effects on top of your designs : "Symmetry", "Repetile", "Kaleidoscope", "Polar Coordinates" and "Metaball"
- New : The Delay Effector has been totally revamped : you can now choose between 6 different order options ("ID Order", "Reversed", "Outward", "Inward", "Random" or "From ID"), and you are not bound to stay with the "elastic overshoot" keyframe interpolation (it's the case by default but you can overwrite the expression applied to the keyframed "Animation" property, to create interesting kind of effects (like "back/bounce/expo" with Ease and Wizz, "anticipation/followthrough" with DUIK Bassel, or "Flickering appearing/disappearing" by removing the default expression, toggle hold keyframes and setting the "Scale.X" and "Scale.Y" parameters to -100%)
- New : possibility to change the "based on" option of the Delay, Formula, Random and Step effectors to "Rows based" instead of "Glyphs" (useful only for multiline texts, Grid & Honeycomb cloners)
- New : Wiggle mode in the Random Effector (gives different organic results than the Noise mode) that loops depending of the comp duration
- New : "Change Settings" button in the Helpmate panel, that allows you to change the default Fill and Stroke color of the Cloners, the default MoGlyph font, the Delay Effector's animation interpolation (elastic, bounce, back, smooth flicker) and a few other options
- New : "Font Request" button in the Helpmate panel, to send an e-mail to Matthieu Fremeaux, aka Fremox, the creator of the script, and ask him about Custom Moglyph Font creation service and its price.
- New : "MoglyphFX_fontsGlyphsAppendix.pdf" document for a better search of glyphs shapes and fonts names
- Improvement : UI has been a bit re-organized to be more logical and comprehensive
- Improvement : The "sourceText" property's expression off all the cloners has been updated for CC2019+ AfterEffects users, in order to ensure that no wrong character panel's settings will mess up with the Cloners settings
- Improvement : the native system ColorPicker has been updated to a more user friendly "Adobe like" ColorPicker
- Bugfix : In "Spline Cloner", a few expressions have been updated, in order to make it fully compatible with the new Javascript Engine (prior to this new version, people had 2 expression errors)
- Bugfix : In "Spline Cloner", the source text expression has been changed in order to support more clones along the spline (up to 1000 now compared to 300 before)
- Bugfix : the licensing framework has been updated : Fixed issue on some Windows systems that gave an Unable to execute script at line. undefined is not an object error on startup
2.04 - Sep 2, 2019
2.03 - Jul 25, 2019
2.02 - Jul 24, 2019
* Bug fix with the files that weren't correctly sorted on a few machines during the Custom Font Creation (the previous error can be seen on the V2 video overview, at the very end 1:32:57, where the created glyph shapes weren't placed correctly in the Glyph panel's buttons grid. Normally, their place shoud now match the AI template artboards numbers)
2.0 - Jul 22, 2019
* The "GENERATE" tab has now one more option panel where you can define, before clicking the cloners button or afterwhile by selecting the cloner layer(s), if you want them to be 2D or 3D (per character/glyph), and where you can also choose the fill and stroke colors for all the clones as well
* Cloners remain selected after having been created (better than before if you wanna add an effector to it directly)
* Cloners have now a new "Stroke thickness" parameter in their pseudo-effect, and can handle true 3D rotation on each axis (prior to this version, clones were 2D only)
* The "Ad000d New Glyph" command lets you choose another fill and/or stroke color for each new glyph shape, directly from the Glyph Panel, and in a complete new "Glyph-XX" pseudo-effect (where you can change its basics transform properties as well, great for transforming clones based on the chosen Glyph shape)
* When you hold down the "SHIFT" key while clicking on either the GRID Cloner or the HONEYCOMB cloner, it will rotate the cloner to 90°, and rotate their clones in the opposite direction (-90° in the cloner's Transform > Rotation Z property) : it allows you to create a kind of "directionnal/linear" falloff from left to right instead of top to bottom when you create any effector on them while the "based on row (not glyphs)" option was ticked on
* All the Effectors from the "ANIMATE" tab are now fully compatible with regular AfterEffects text layers that have not been generated by MoglyphFX (it will create an effect called "Moglyph MOTEXT" onto it, do not remove it !)
* You can now disable an effector just by disabling the little "fx" icon next to its name in the Effect's panel
* The "Random Effector" has been completely re-written : it now allows you to choose between 3 different modes ("Random", "Gaussian" and "Noise"), available in the EFFECTOR Random Effect's > Effector > "Random Mode" dropdownlist
* The "Delay Effector" has one more option called "Reverse clones order" (when this option is checked, the delay offset effect will start from the last clone instead of the first)
* A new "Group Effector" allows you to first select the desired effectors in a Cloner's Effects stack (in the Effects panel), then, after clicking this new Group Effector's button, it will link their strength and all their falloff options to this new one (great way to animate a lot of effectors at one time)
* A cool new "Sound Effector" allows you, as its name says, to animate the cloner's glyphs or the text's characters based on a sound frequency (just select first a Moglyph Cloner or a text layer, then a sound layer - could be an MP3, WAV or a video with sound - then click on the Sound Effector button : note that it will create an additionnal "Sound rig" layer in order for the effector to work, do not remove or rename it !)
* The "Animate tab" has now a new drop down list where you can define the falloff shape (square, ramp up, ramp out, triangle, smooth) before a new Effector is created and when one or more existing Effectors is/are selected in the Effect panel
* Changing the "Randomize Falloff order" and the "Linear Falloff (by rows)" checkboxes while some existing Effector are selected in the Effect panel will also change these options on the fly in these selected Effectors
* A new "FX Parameters" panel with a single "Don't use unckecked FX Parameters from Helpmate" checkbox allows you to simplify the effectors parameters (not in the effect directly but in the text animators hierarchy), by creating only those which are checked in a dedicated HELPMATE's panel (more on this below)
* A brand new third tab called "HELPMATE" gives you a bunch of additional controls and tools
* The first HELPMATE's panel lists all the Effector's parameters as individual checkboxes options, and offers 5 tools buttons : CHECK/UNCHECK ALL (self explanatory purpose), MAGIC SELECTION (only check the Parameters that have been changed in the selected Efffector), INVERT CHECKBOXES VALUES (self explanatory purpose), RESET PARAMETERS VALUES (resets the checked parameters values to their default values) and REMOVE/ADD P. (removes or add the text animators properties corresponding to the checked parameters)
* You can now remove one or more Glyph(s) by selecting their corresponding name(s) in the effects stack, and clicking the "Remove Glyph" button
* You can now remove one or more Effector(s) by selecting their corresponding name(s) in the effects stack, and clicking the "Remove Effector" button
* A new "CUSTOM FONT" button in the Helpmate tab will run a completely new "creation assistant" that highly facilitates the font creation process. Organized in a neat step by step interactive window, it will create all the needed assets (new illustrator template, correctly named empty folders...) and open the needed web pages as well, like the dedicated aescript video tutorial and the icomoon.io app : creating your own font for Moglyph has never been so easy !
* Now you'll retrieve your license and product's information with a new "INFO & LICENSE" button (replace the old little "i" rounded icon in the previous versions)
* A brand new Moglyph font called "Moglyph-moneyCoins" !
1.8 - Jan 8, 2019
1.7 - Nov 5, 2018
1.6 - Sep 26, 2018
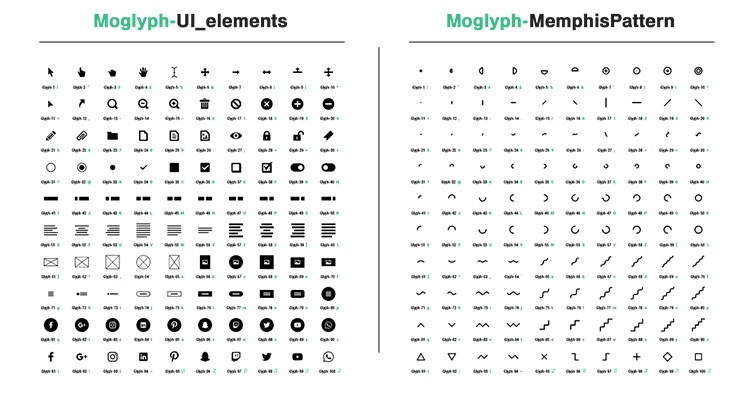
- New Moglyph "UI_elements" font
1.6 - Sep 25, 2018
- New Moglyph "UI_elements" font
1.5 - Aug 6, 2018
- New Moglyph "Chunky type" font
1.022 - Mar 5, 2018
1.02 - Mar 2, 2018
- New PDF instructions
- Various bug fixes
 Adding to cart...