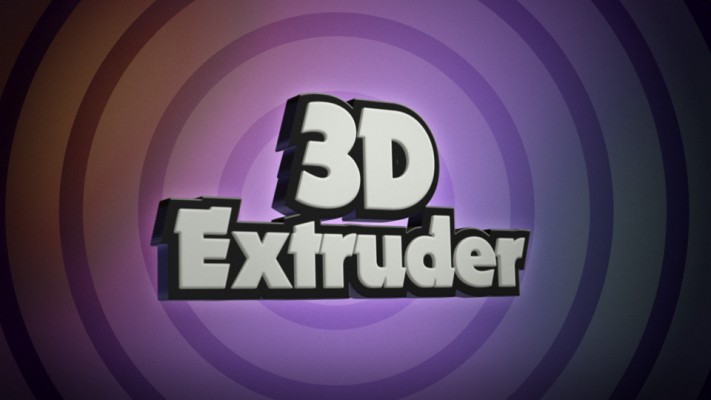
3D Extruder
-
Compatibility After Effects Please check exact version compatibility under the "COMPATIBILITY" tab below
 Adding to cart...
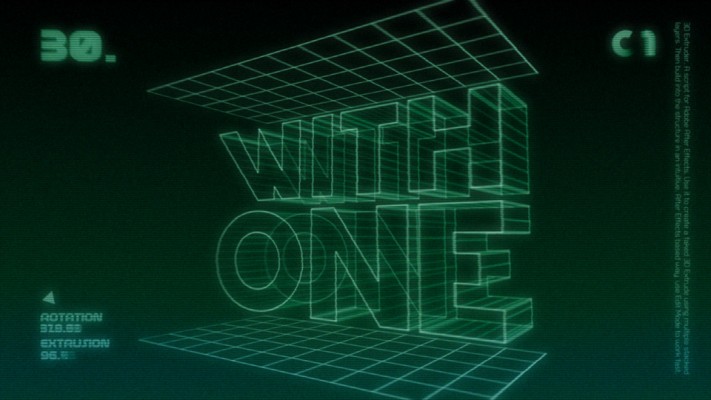
 3D Extruder is a script that makes light work of creating high-quality 3D extrusions in After Effects, using the time-honored method of stacking 2.5D layers (all automatically of course). The benefit of this is your 3D extrusions are part of your real After Effects 3D space so they interact properly with other 3D layers.
Features
Familiarity
To build 3D extrudes using a standard After Effects precomposition structure, making it familiar and intuitive for After Effects users to go into and customize.
Speed
Traditionally, extrudes created by stacking 2.5D layers have been rather cumbersome to work with. 3D Extruder deals with this by having a built in "edit mode" which temporarily simplifies the structure at the flick of a switch. Used in combination with draft 3D it means that you can often scrub back and forth on the time-line in real-time or near real-time, leaving you free to worry about getting that animation just perfect.
Quality
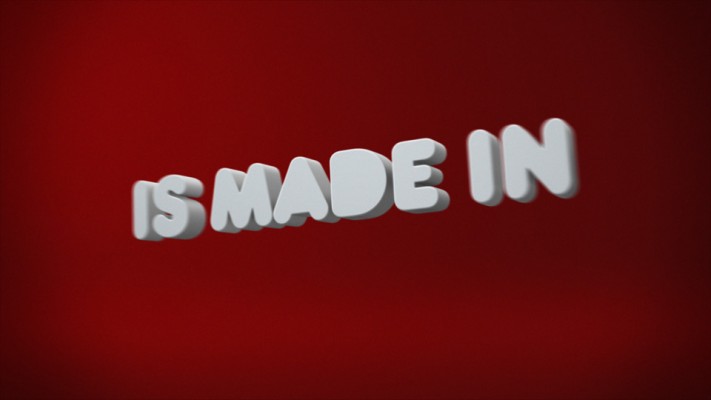
3D Extruder makes a highly convincing 3D extrude, emulating specular highlights, shading and reflection that respond dynamically to a controller light and reflector. Move or rotate your extrude and the shading and reflection change appropriately. Similarly, moving the light or reflector will cause the shading, specular highlights and reflection to respond too.
Ease
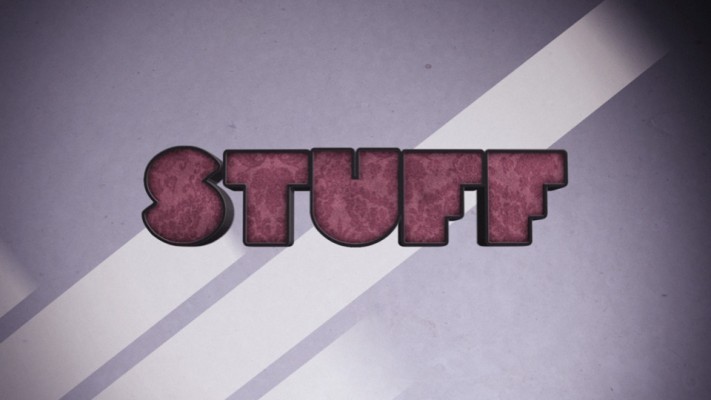
3D Extruder has 10 presets that create great results at the click of a switch. With a bit of extra customization, you can create results that it's hard to believe came out of After Effects.
Usability
3D Extruder is not just for creating one 3D extrude. It also contains tools to make your life easier while working on projects. You can save and manage your own presets using the pop up preset box and the Current to UI tool. "Duplicate" allows you to make new versions of your extruder and even copy extrusions to other comps. "Center Reflection" will save you lots of time lining up camera, reflector and extrude and "Fix Expressions" is there to put things right if something goes awry in the engine room. All told, 3D Extruder makes 3D extrusion quick to set up and easy to work with, while adding a level of detail that takes 3D extrusion to a whole new level.


| After Effects | 2020, CC 2019, CC 2018, CC 2017, CC 2015.3, CC 2015, CC 2014, CC, CS6 |
|---|
1.02x336 (Current version) - Jul 20, 2021
1.02x334 - Jul 20, 2021
1.02x334 - Apr 19, 2021
1.02x330 - Apr 11, 2013
- 1.02 - Fixed issue that was causing some other open scripts to interfere with the smooth running of 3DX (Apr/2013)
- 1.01 - Added up-rez and down-rez functionality (Jan/2013)
- 1.0a - Fixed intermittent reflector orientation bug / Minor prefs file bug fix (Jul/2011)
- 1.0 - Initial release (Jun/2011)
-

- Compatibility After Effects
Ink - Animated Typeface
Add to CartInk is a rounded sans serif typeface with liquid style cell animation. It's uppercase only with limited punctuation. The clean design and vibrant animations make it a suitable choice for a wide variety of projects. Order 4 or more Animography Animated Typefaces and save 25%
$30.00 -

- Compatibility After Effects
Indie - Animated Typeface
Add to CartIndie is a simple hand drawn sans serif with an unpolished edge. It is uppercase only but sports some nice ornaments and scalable frames. It has lots of built-in controls so you can easily customize color, timing, thickness and wiggle. Order 4 or more Animography Animated Typefaces and save 25%
$30.00 -
- Compatibility After Effects
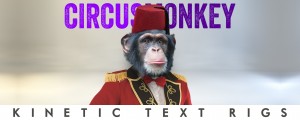
CircusMonkey
Add to CartCreate kinetic type with the greatest of ease. A new way of working with text in 3D space unleashes amazing possibilities
-
-

- Compatibility After Effects
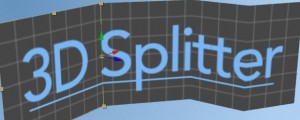
DistributeLayers
Allows you to distribute the selected layers in 3D space.Add to Cart -

- Compatibility After Effects
Pointers
Snap any position property to any layer. No matter if it is 3D, 2D or parented. Pointers does all the complicated math for you.Add to Cart
-

- Compatibility After Effects
Smart Precomposer
Smart Precomposer allows you to do a "precompose and leave all attributes" on text and shape layers, which After Effects otherwise doesn't allow. What's more, Smart Precomposer allows you to precompose any type of layer and selectively move some attributes into the new precomp, while leaving the rest in the original comp.Add to Cart$10.00 -
- Compatibility After Effects
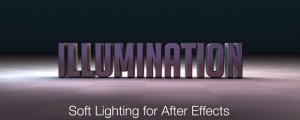
Illumination
Illumination adds a new dimension of lighting control to After Effects. By automating the creation and control of banks of point lights, Illumination brings a new type of lighting to AE - the softbox. Soft lights mean soft shadows, making objects feel much more believable.Add to Cart$14.99 -
- Compatibility After Effects
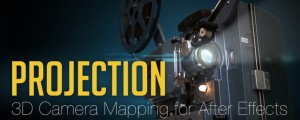
Projection
Add to CartThis product has been discontinued. Please use Projection 3D instead
$19.99 -

- Compatibility After Effects
Skydome
Creates a 3D environment for your After Effects compositions at the touch of a button. The environment then responds to your camera's position, orientation, rotation and lens properties.Add to Cart$10.00