YY_BitExtender
-
Compatibility After Effects Please check exact version compatibility under the "COMPATIBILITY" tab below
 Adding to cart...
 This plugin turns 8 bpc footage into 32 bpc footage, and lets you very easily tweak the results based on your needs.
To install it, simply drop the pbg file into your plugins folder, and start After Effects. (sorry CS3 users, but pixel bender plugins don't work with anything under CS4)


As you can see, with the threshold lower, the blobs of light become bigger.
The next parameter is Intensity. It determines how much brighter the "superbright" areas should be. Generally, leaving it at 1 is ok, though sometimes you want a more subtle effect. (sorry, no picture)


This is a very useful feature if you have bright lights in a shot, and you would prefer to give the lights a color. It can also achieve some nice, stylistic effects.

| After Effects | CS5.5, CS5, CS4 |
|---|
2.0 - Initial release on aescripts.com - Nov 2010
-

- Compatibility After Effects
- Compatibility Photoshop
- Compatibility Premiere
- Compatibility Illustrator
Stock Search Pro
Add to CartSearch and download unlimited free stock assets directly from any Creative Cloud application.
-
- Compatibility After Effects
versionUp
Easily cycle between every version of your footage.Add to Cart -
- Compatibility After Effects
Quick ToneMapper
Quickly tone map your CG renders in After Effects, recover overblown highlights and introduce contrast.Add to Cart -

- Compatibility After Effects
- Compatibility Premiere
Dot Pixels
Add to CartA native plugin for After Effects and Premiere Pro to pixelate your image into circles and rings.
$39.99 As low as: $31.99 -
- Compatibility After Effects
rd: Scooter
Displays a palette with controls for slipping and sliding various layer settings, such as layer footage source, in/out range, markers, and keyframes. You can use different combinations of these settings for more powerful control over layer editing operations.Add to Cart#devforacause
This script is part of the rd: scripts collection. Please consider making a donation to a charity important to you. Thanks.$0.00 -

- Compatibility After Effects
Batch Search-n-Replace Paths
Batch process folders of After Effects project and search and replace file paths. This can come in handy if you are moving a project to a different folder structure like a new server. You can also use it to batch replace files in many projects at once.Add to Cart
-
- Compatibility After Effects
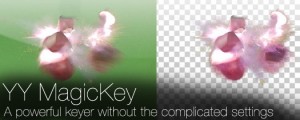
YY_MagicKey
Add to CartA powerful keyer without the complicated settings.
$34.99 -
- Compatibility After Effects
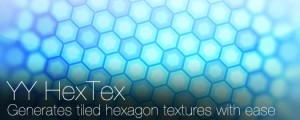
YY_HexTex
YY_HexTex generates tiled hexagon textures, with extra options such as rotation, edge thickness, etc. Everything can be animated right in the comp, without need to deal with messy nested precomps.Add to Cart$29.99 -

- Compatibility After Effects
YY_ShockRing
Add to CartYY_ShockRing was designed to be a feature-complete plugin for making rings. Blend modes, thickness, feathering, opacity; YY_ShockRing has it all. Use it for shockwaves, motion graphics, or anywhere else you need rings.
$24.99 -
- Compatibility After Effects
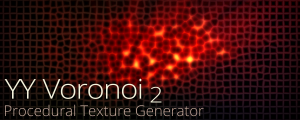
YY_Voronoi 2
Add to CartNow with Apple Silicon and MFR support. YY_Voronoi is a procedural texture generator which can be used as all sorts of textures, from terrain maps to water caustics to abstract backgrounds. By layering different Voronoi patterns, variations in complexity can be achieved.
$29.99 -
- Compatibility After Effects
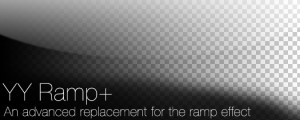
YY_Ramp+
A more full featured ramp effect, with more parameters such as opacity and blend modes.Add to Cart$39.99