Springy FX
-
Compatibility After Effects Please check exact version compatibility under the "COMPATIBILITY" tab below
Every animator knows that secondary motion is really the key to add these extra level of life to their character animations.
Indeed, several of the famous principles of animation ("Overlapping", "Follow through", "Secondary action" and "Squash & Stretch"), are still learned and used by almost any animator since decades.
But, in fact, these same principles can apply to the motion design field as well, it's even strongly recommended to use them if you want your animated layers to convey an idea of life ! But creating this kind of secondary motion from scratch within After Effects can be really time consuming and tedious.
Introducing... Springy FX !
The first toolset ever created for After Effects that is entirely dedicated to jiggling secondary motion !
The toolset consists of 9 tools, available as buttons with some neat icons, that can be organized as a row (horizontal layout) or a column (vertical layout, with or without labels).
Among these 9 tools, you'll find :
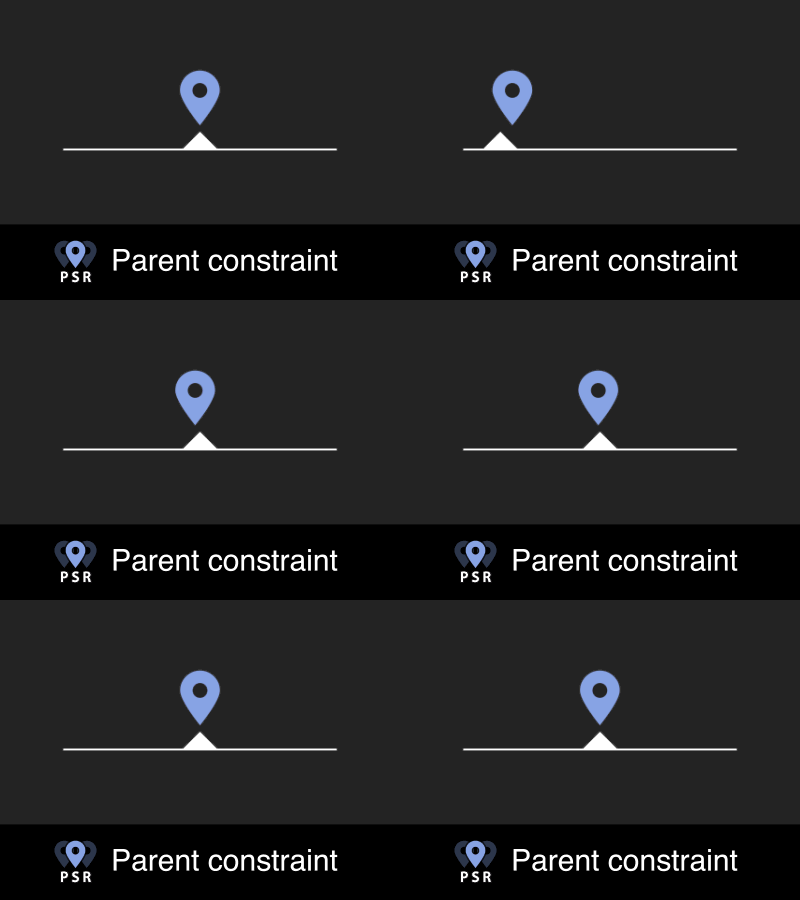
- 1 useful springy Parent constraint ;
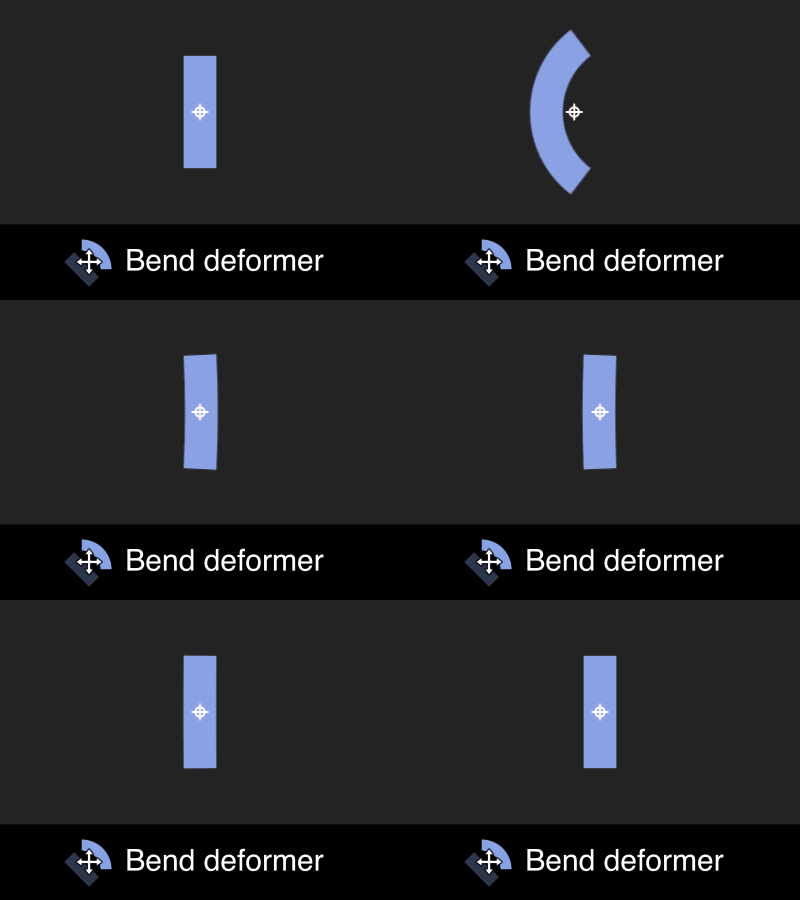
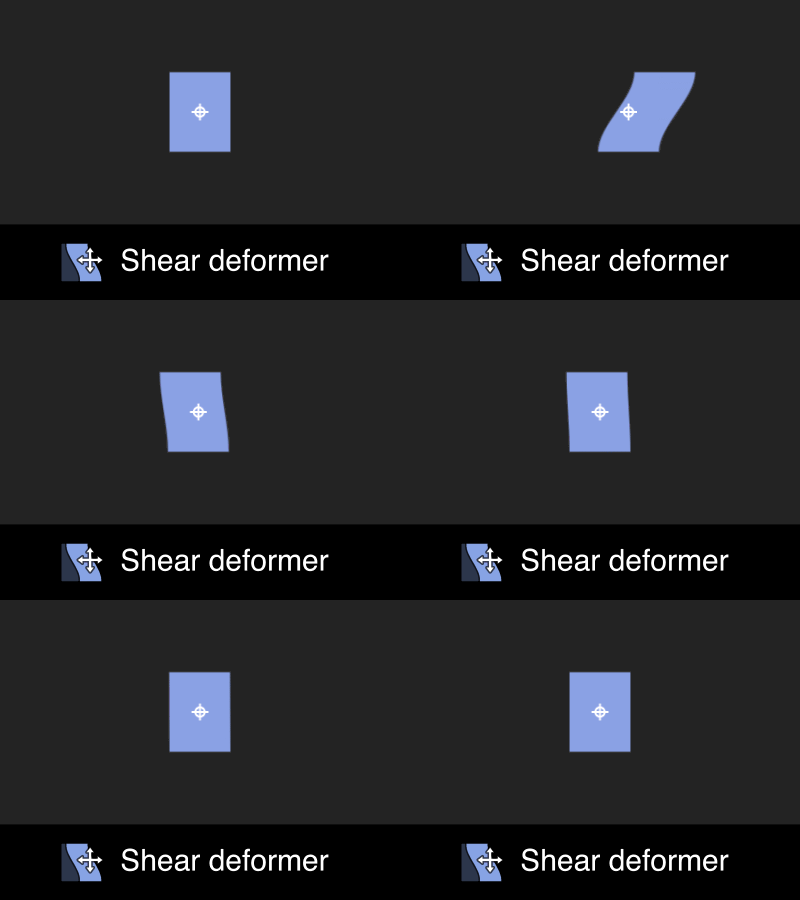
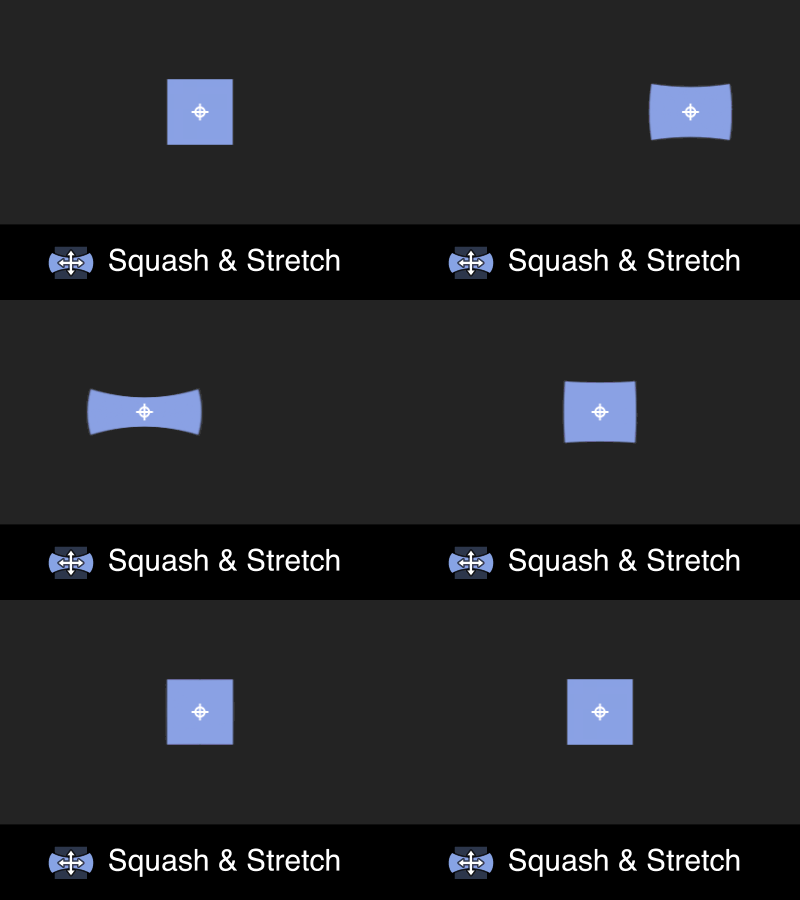
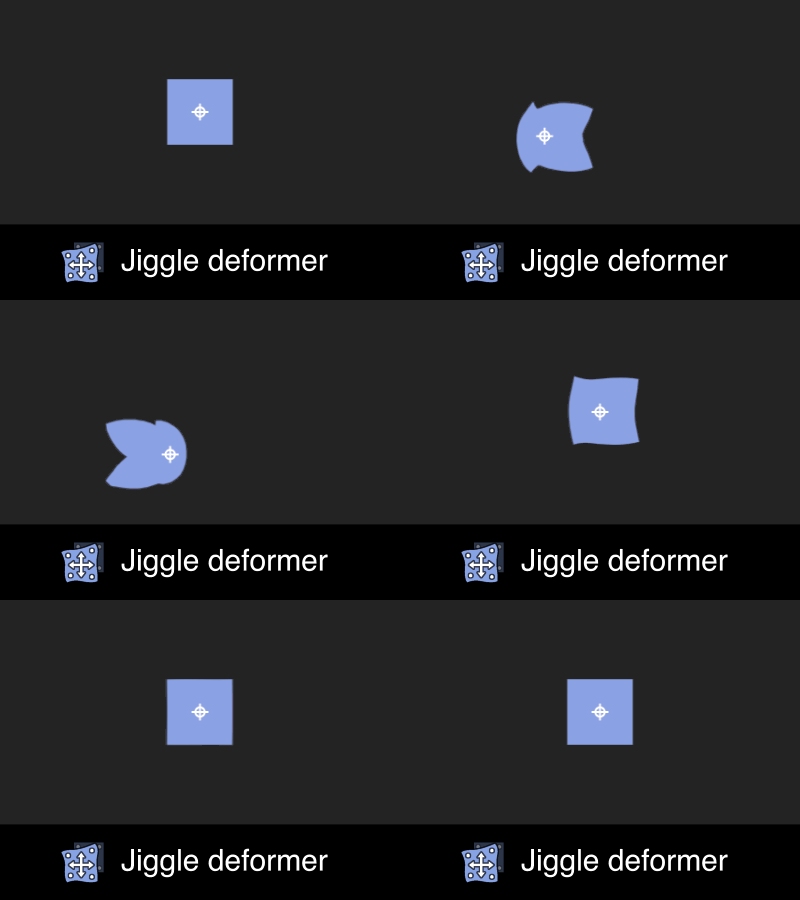
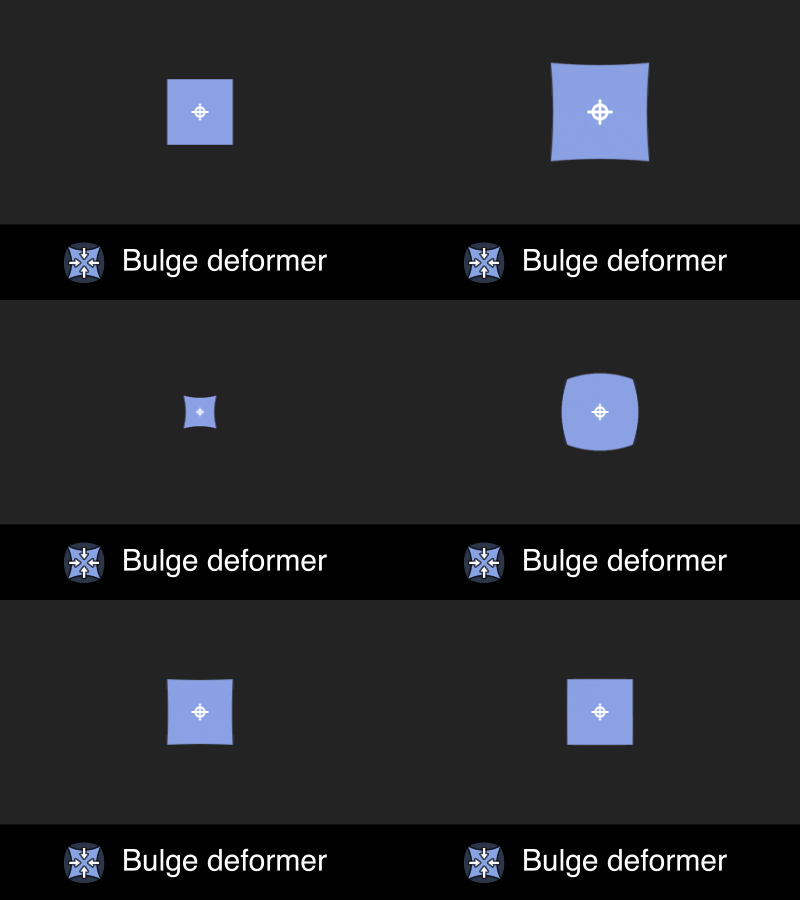
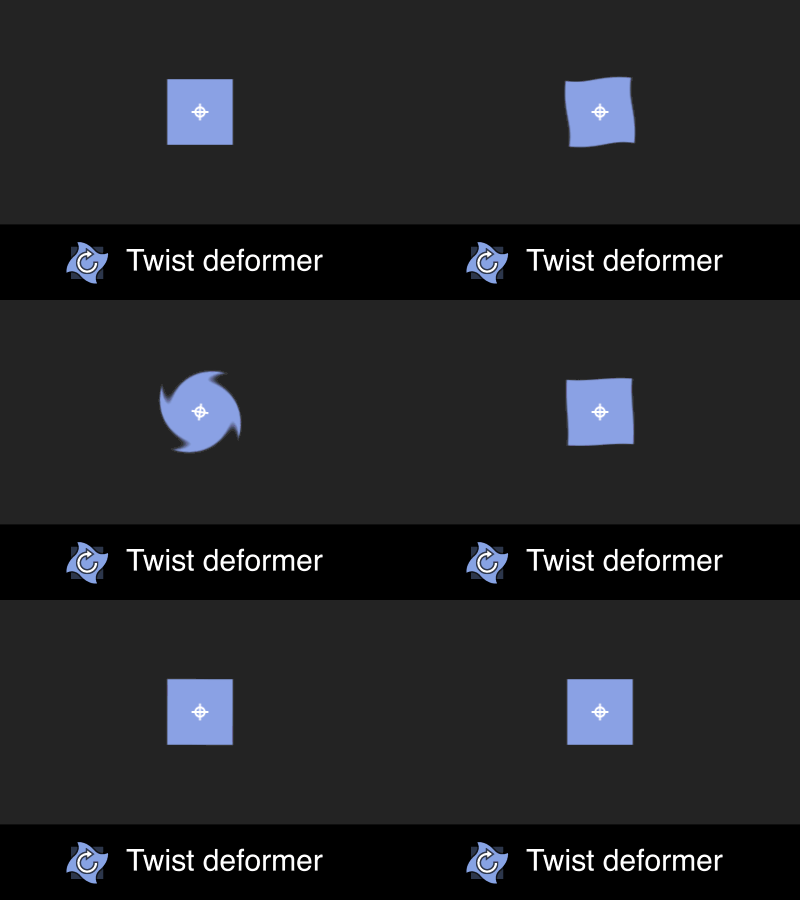
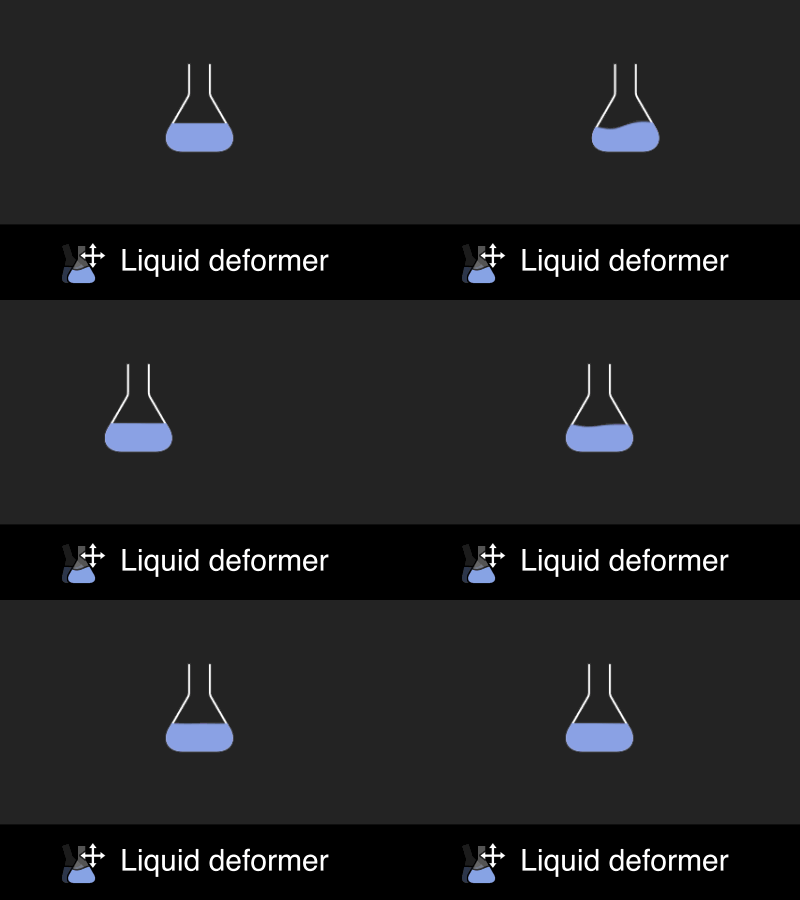
- 7 jiggling deformers (Bend, Shear, Squash & Stretch, Jiggle, Bulge, Twist and Liquid) ;
- 1 powerful springy Custom effect
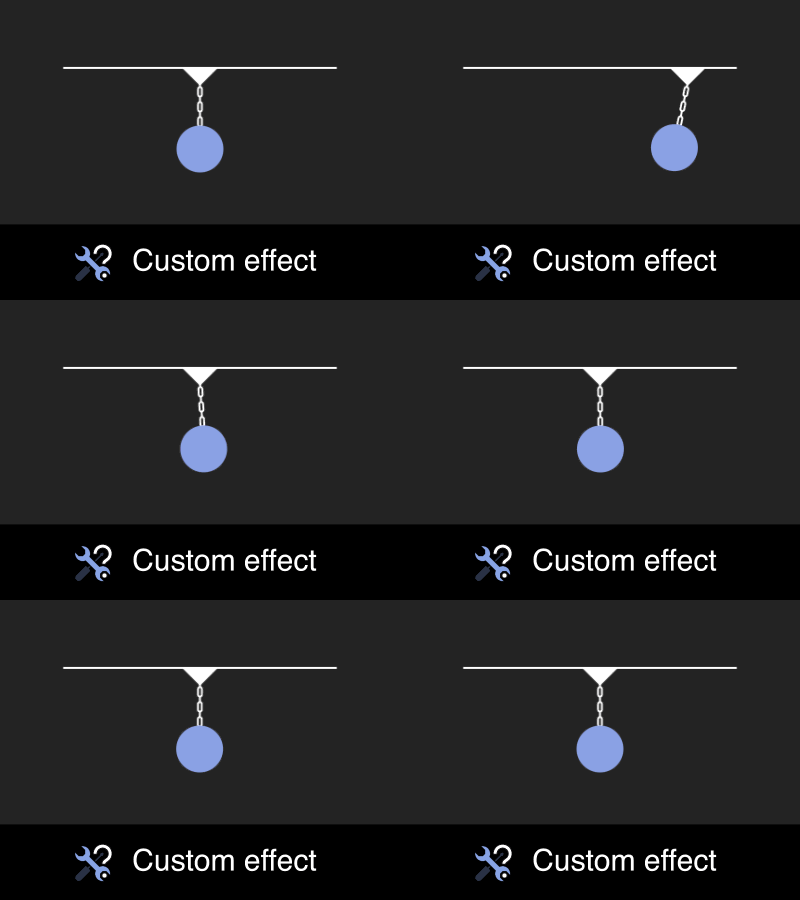
In order for you to easily understand each tool, you can always hold down the OPTION(ALT) key while clicking on their button ; it will then open up a helpful descriptive summary that explains what the tool is and how it works !
 |
 |
 |
 |
 |
 |
 |
 |
 |
Using the toolset for the first time is really easy !
- Just select a layer that has some keyframed motion on its position ;
- Then click on one of the Springy FX's position based tools (Bend, Shear, Squash & Stretch, Jiggle or Liquid deformers)
- See the magic happen ! Your layer (it has to be a solid, a footage or a precomp since Shape and Text layers can't be deformed properly with this method) has now a nice springy overlapping effect that reacts to your position animation !
You are not bound to always use the position property for the springiness calculation : you can also use a Bulge deformer for an animated scale property, or a Twist deformer as well in case of an animated rotation.
The Parent constraint make your first selected layer follow the second selected one with a nice springy delay.
The Custom effect is the most advanced tool : it will allow you to create this nice springy motion on any numeric single dimension property (multiple dimensions properties like position, special types of values like dropdown lists, color can't be handled by the tool) as soon as your selected property belongs to an effect (transform, masks, geometry and other group's properties won't work neither), based on the keyframed motion on the layer of your choice (you'll have to choose on which axis you want your custom effect to be based on).
The Custom effect can even be used to create unseen secondary motion on a plugin effect's property such as Element 3D or Joystick' n ' sliders.
The possibilities are endless !
Even if the Springy FX does all the tedious work for you, you may want to customize the created effects. Of course you can do it, but you'll have to understand the fundamentals first (it is also strongly advised to see the 4 parts full video overview at the bottom of this page) !
So, here is a detailed explanation of how it works
Each time you apply one of these effects on your selected layer by clicking on the corresponding tool's button, several things will be created for you :
- a new layer with the same name than the first selected layer (because some of the effect's, like the Parent constraint or the Liquid deformer can handle 2 selected layers instead of one), followed by "Spring Constraint CTRL" ;
- a new pseudo-effect called "Springy Deformers CTRL" on the first selected layer, where the dropdown layers list called "Spring constraint layer" refers to the "Spring Constraint CTRL" layer described above (do not change or remove this effect !) ;
- a bunch of expressions, that are linked to the "Spring Constraint CTRL" layer's effects, on your selected layer's transform properties if you use the Parent constraint, on some newly created effects if you use one of the 7 deformers, or on the selected property for the Custom effect ;
If the selected layer has already some effects created with the Springy FX toolset, you can add other ones on top of them : their controls (sliders) will then be available on the same "Spring constraint CTRL" layer than before. So, it's important to keep in mind that each layer you want to have some springy effects on them, will have their own unique CTRL layer, with the same prefix.
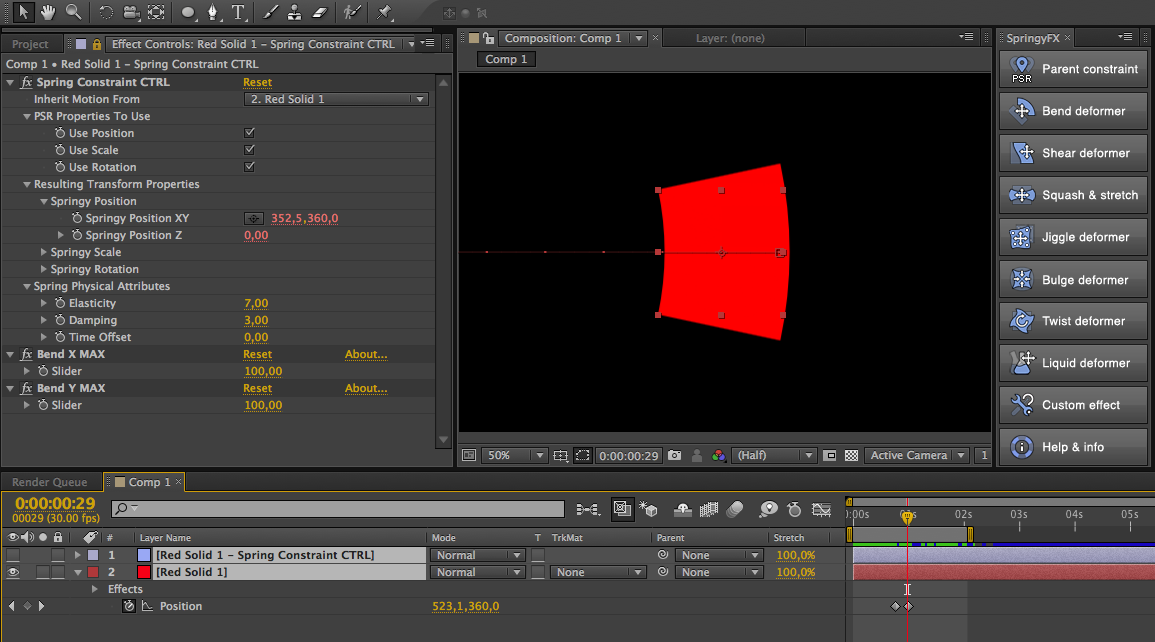
This "Spring Constraint CTRL" layer has several effects applied to it. It's really important to understand these effects if you want to unleash the full power of the toolset.
The first one is called Spring Constraint CTRL : this is where you'll find the main controls of the spring effect. Here are the settings you'll be able to tweak from it :
- Inherit Motion From
this is where you'll be able to choose if you want your original selected layer as the layer from which the expressions will analyse the motion data (this is the case by default, except for the "Parent constraint", where the second selected layer will be chosen instead) or not (you can analyse any other layer's motion just by selecting it in the "Inherit Motion From" dropdown list) ; - PSR Properties to use
here you can enable (by default) or disable the transform properties you don't want to analyse for the spring computing ; - Resulting Transform Properties
if you are confortable enough with AE expressions, you can retrieve the animated properties of an invisible 3D point that will springy follow the layer specified in the "Inherit Motion From" list, to help you build even most advanced rigs ! - Spring physical attributes
this is where you can tweak the aspect of the overall springiness effect, thanks to 3 useful options : elasticity (slider value from 0 to 10 ; the bigger the most elastic it is), damping (from 0 to 10 as well ; a small value gives a more nervous effect, a big value tends to make the animation drag in a slow way), time offset (from -1 to 1 ; helps you cheat a bit in case if your animation seems off).
In addition to this first effect, each deformer or constraint applied to the selected layer will have its own "Max" slider controls, for each axis, on the corresponding "Spring Constraint CTRL" layer as well.
So, for example, if you apply a Bend deformer on a layer called "Red Solid 1" that moves on its position, you'll find a "Bend X Max" and a "Bend Y Max" on the corresponding CTRL layer (in our case, it would be called "Red Solid 1 - Spring Constraint CTRL"), that will allow you to tweak the bend intensity for both X and Y axis independently.
And if you want to add another springy effect on top of that, let say a Twist deformer based on your layer's animated rotation, simply select the layer ("Red Solid 1" in our case) and click on the Twist button. A "Twist" effect will be added to the layer, and a new "Twist Max" angle control will be stacked below the bend controls on the same "Red Solid 1 - Spring Constraint CTRL" layer.
Note that the Liquid deformer is a bit different from the other tools, since it can react to the motion from both the position and the rotation ;
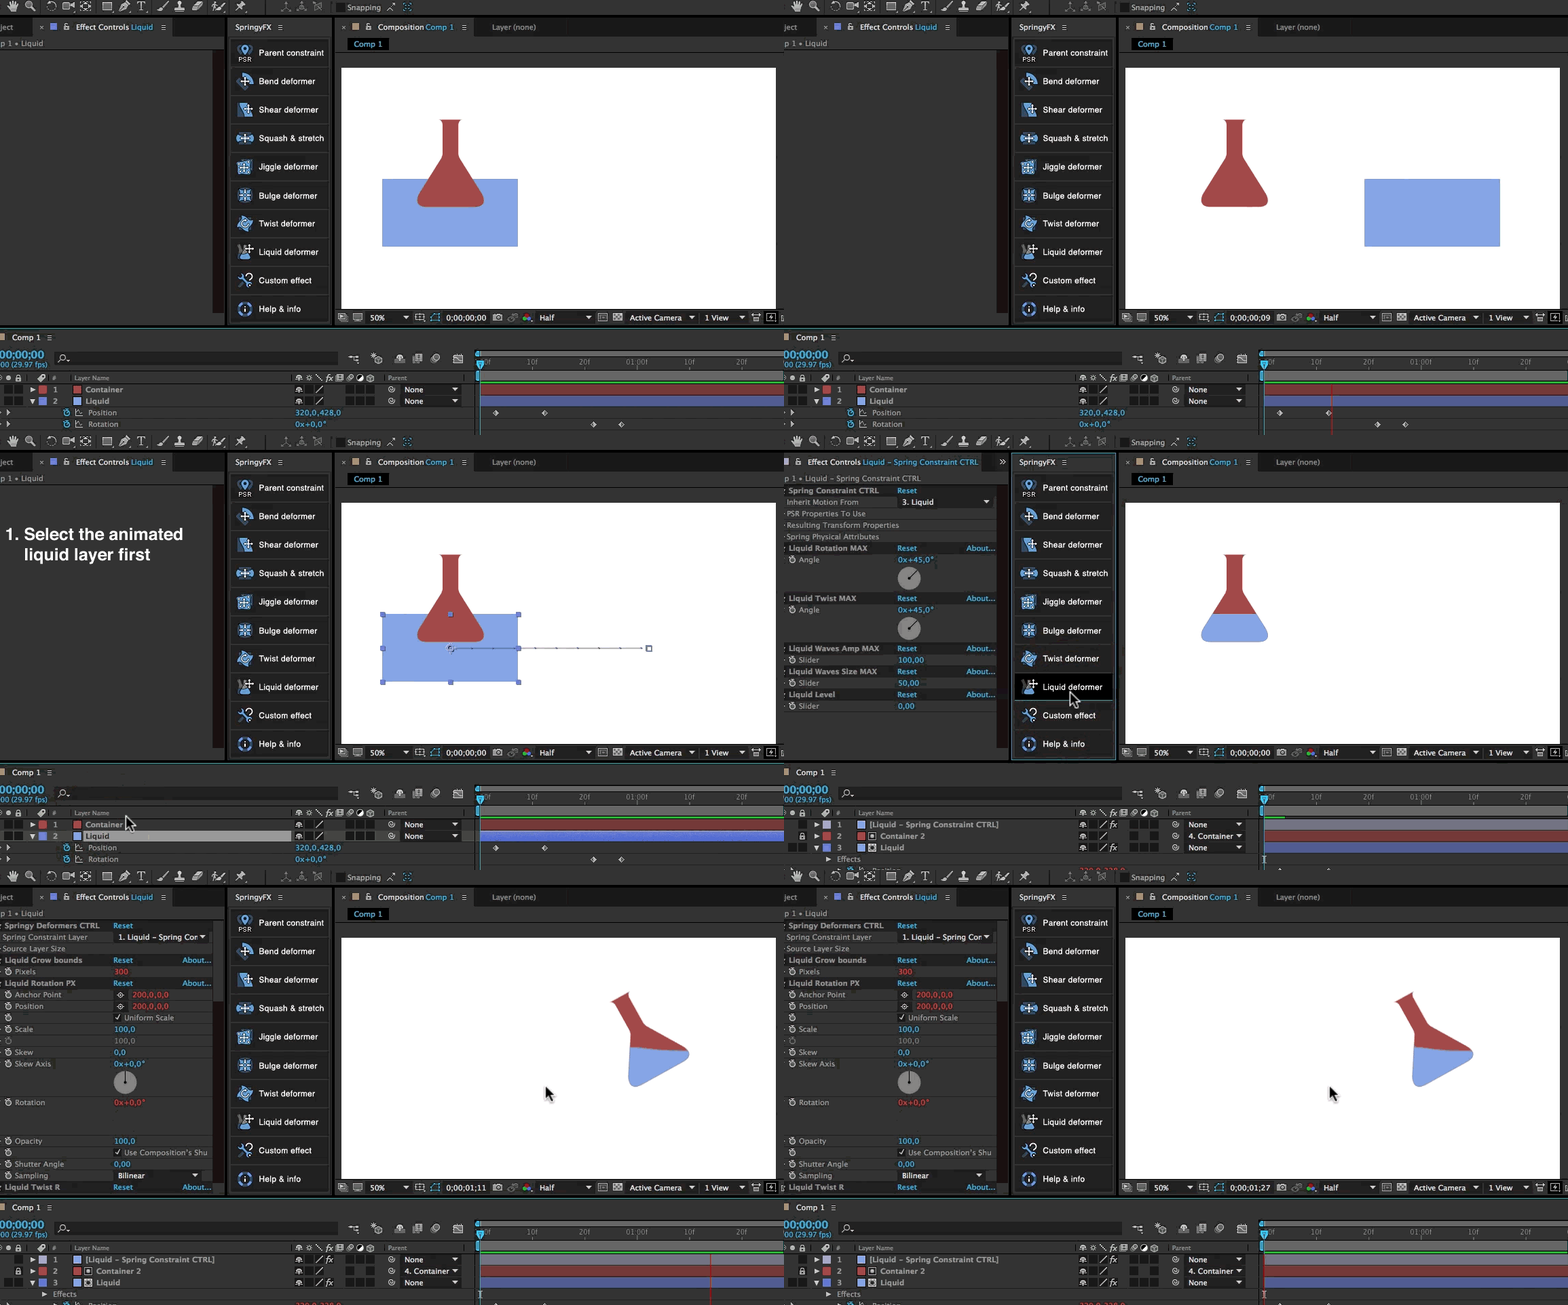
Moreover you can select a second layer in addition to the first one. The first selected layer will then receive a bunch of distort effects to make it behave like some liquid (TIP : you can press the SHIFT key while clicking on the Liquid effect button, and you'll end up with a nice bubbling effect onto your layer !). Your second selected layer will be your container. It will be automatically duplicated and arranged so that one of them becomes an alpha matte for the liquid... Which is really handy to fill up a wide variety of containers like bottles, glass, cans, barrels... Just animate the liquid layer and see the magic happen !
What are the differences between the Springy FX Jiggle tool and Rubberize it ?
One of the deformers is called Jiggle. (initially designed to reproduce the same named deformer's effect from Cinema 4D). It aims at making your puppet pins, created with the AE's Puppet tool, automatically jiggle when the layer moves on its position. As you may notice, it has exactly the same purpose than another well known (and cool) tool called Rubberize it !
This is true, BUT, both tools work differently. First of all, they use a completely different algorithm (Rubberize it has 2 formulas that are based on the anchor point and none active pins, while Springy FX's Jiggle tool doesn't use the anchor point at all). Rubberized it tends to create much more natural and realistic motion, but the expressions that are created are just a nightmare to dive in and aren't customizable at all, while the expressions created on the Springy FX's Jiggling pins are all linked to some useful slider, to help you tweak the jiggling strength for each pin independently. Another cool thing with the Jiggle deformer is the ability to disable the jiggling effect during time thanks to a "Activate Jiggle deformer" checkbox. Last but not least... You can choose to make your pins jiggle depending of another layer's motion, which allow you to achieve really complex simulations !
Installation
- For CS6 users only, the toolsets needs some pseudo-effects to be installed. Please first Allow Scripts To Write Files and Access Network by turning on the corresponding option in your AE Preferences > General tab. Then install the pseudo-effects properly with the installer called "SpringyFX - PE Installer - CS6 only.jsx" delivered with the product in the ZIP folder (by running it from the Run script file command in the After Effects' File > Scripts menu) ;
- Copy both the "SpringyFX.jsxbin" file and the whole "SpringyFXassets" folder, then paste them at the same level inside your Application > After Effects' current version > Scripts > ScriptUI Panels folder.
- Restart After Effects
- Launch the toolset called "SpringyFX.jsxbin" from the Window menu and dock the panel wherever you want in your AE's layout.
Tutorials
Please watch the in-depth tutorial videos under the VIDEOS tab above
| After Effects | 2024, 2023, 2022, 2021, 2020, CC 2019, CC 2018, CC 2017, CC 2015.3, CC 2015, CC 2014, CC, CS6 |
|---|
1.4.2 (Current version) - Jul 5, 2024
1.4 - Jul 3, 2024
1.2 - Sep 2, 2019
- Added support for macOS 10.15 in the licensing framework
1.1 - Jun 7, 2019
- No need for tedious pseudo-effects installation anymore, except for CS6 users (if the "missing effect" error message that is poping-up each time annoy them)
1.0.5 - Dec 10, 2017
1.0.4 - May 19, 2017
• New detail in the installation PDF
1.0.3 - May 1, 2017
• New installation PDF

 Adding to cart...
