Box It!
-
Compatibility After Effects Please check exact version compatibility under the "COMPATIBILITY" tab below
The easiest and quickest way to create complex dynamic text boxes!
Perfect for lower thirds, labels, chat bubbles, multiple text boxes and more!
(Add to cart)
Templates included.
Get up and running in no time with these included templates. Use them in as many commercial projects as you like. Templates are provided as an After Effects 2020 project file (1080p/30fps).


Features

Core Features
- Add a shape layer box under the text layer, that will perfectly fit the text and will automatically update, when the text is changed.
- Choose between "Cap Height", "x-Height" and "Full Height" - No more height differences, when animating text with different-sized letters (ascenders / descenders / accents).
- Works with paragraph text and vertical text (only with "Full Height").
- Works in 3D.
- Expansion (Individual & All), Roundness & Skew.
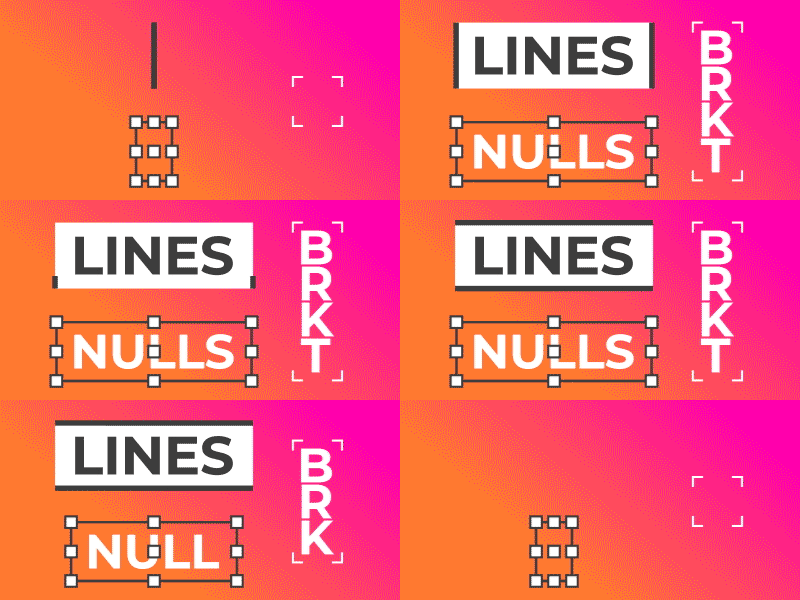
Elements
- Add "Lines" (horizontal & vertical), that will perfectly fit the bounding box. The lines are shape layers, so you can make use of all the benefits of shape layers, like tapering, dashes, waves, repeater, trim paths etc.
- Add "Corner Brackets", that will perfectly fit the bounding box. Show or hide each individual bracket. Set length, tapering and more!
- Add "Boundary Nulls" to add nine Null Objects to the corners, sides and center of the bounding box. You can then attach any layer to any Null Object and the layer's position will always update with the text.
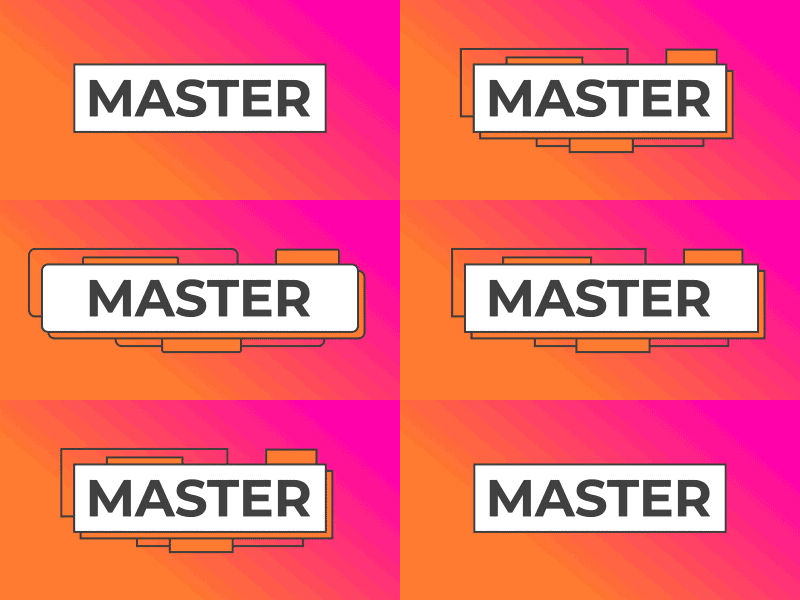
Master Settings
- When you apply "Box It!" to a text layer, effect controls get added to the text layer and a shape layer box is created with it's own effect controls.
- If you add several boxes, you can adjust the settings for each box individually or use the effect controls on the text layer to adjust all the boxes at once.
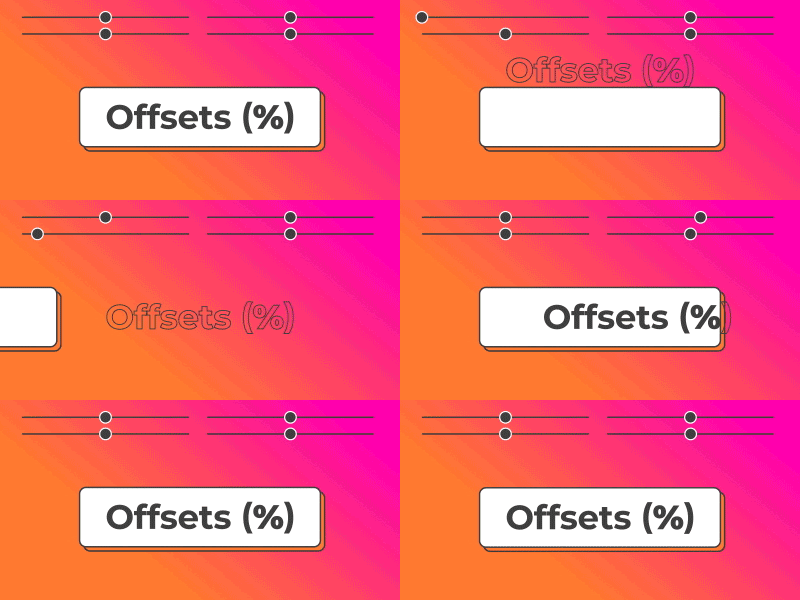
Percentage Based Offsets
- Animate the text separately from the box.
- Push the text just outside the box (perfect for track mattes).
- Percentage based offsets ensure that your animations will automatically update, even if you change the text length, scale, or position.
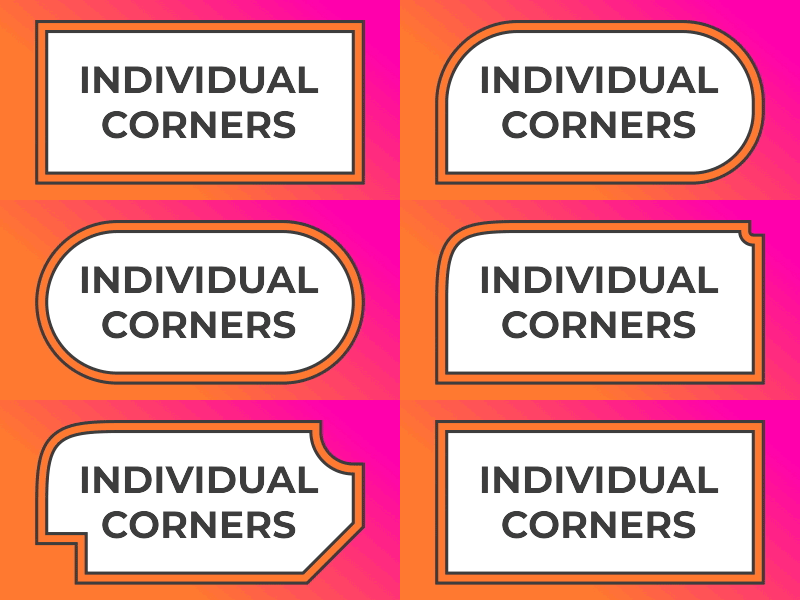
Individual Corners
- Control each individual corner.
- Choose between 4 corner profiles: convex, concave, flat and step.
- Adjust the curvature to make the corners even smoother (squircle).
- Corner Unit: Pixels or Percent. Choose "Pixels", if you want the corner radius to remain unchanged when the box size changes (e.g. with multi-line text).
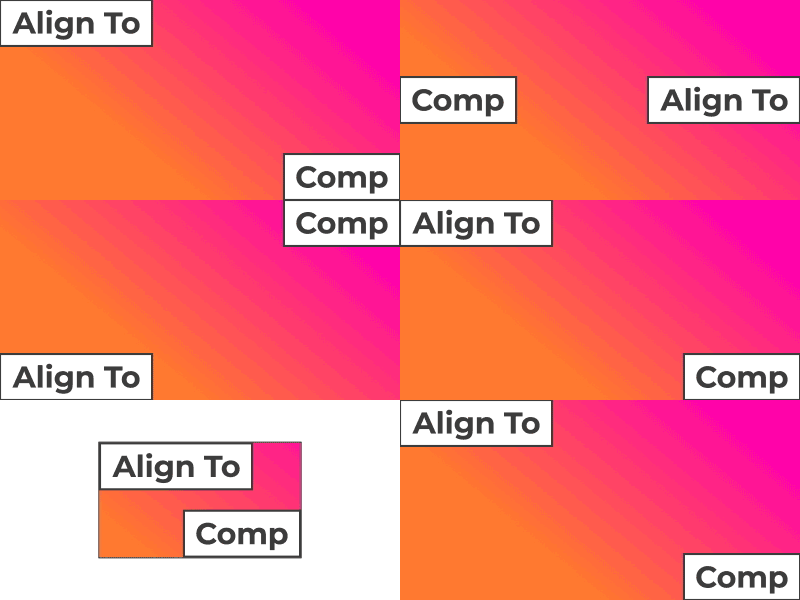
Align To Composition
- Align your text boxes to the composition (x and y-axis) and add position offsets (x, y, z).
- It will update with the size of the composition.
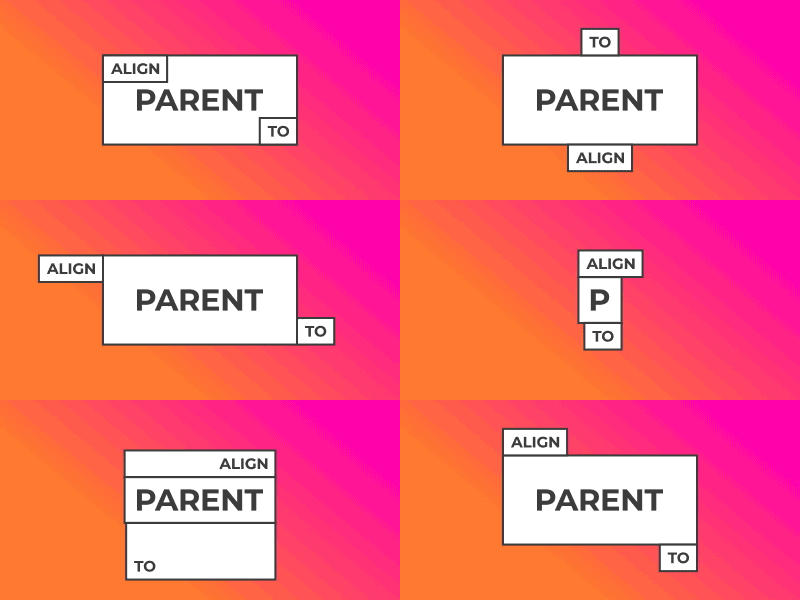
Align To Parent Layer
- Align your text boxes to a parent layer (25 different positions).
- You can change the source text, size, scale and expansion settings of all text layers, and the alignment will automatically update.
- The alignment calculations are based on the master controls (effect controls on the text layer). The effect controls on the shape layer box are ignored. This way you have more flexibility when designing your setups.
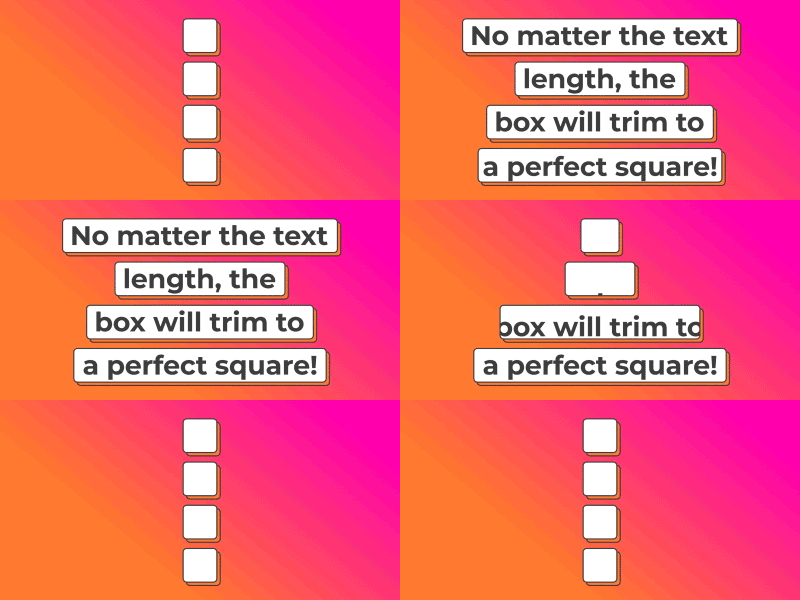
Trim To Square
- No matter the text length, the box will trim to a perfect square.
- Pro tip: If you set the corner radius to 100% the box will trim to a perfect circle.
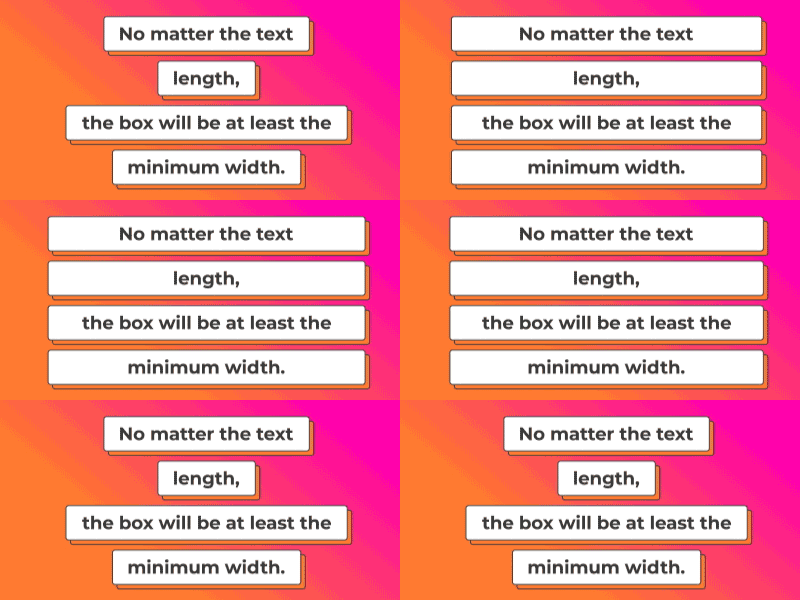
Minimum Width/Height
- Set a minimum width and height for the box (pixel value).
- Perfect for when you want several text boxes to be the same width or if a lower third should always be a certain width or height, no matter how short the text is.
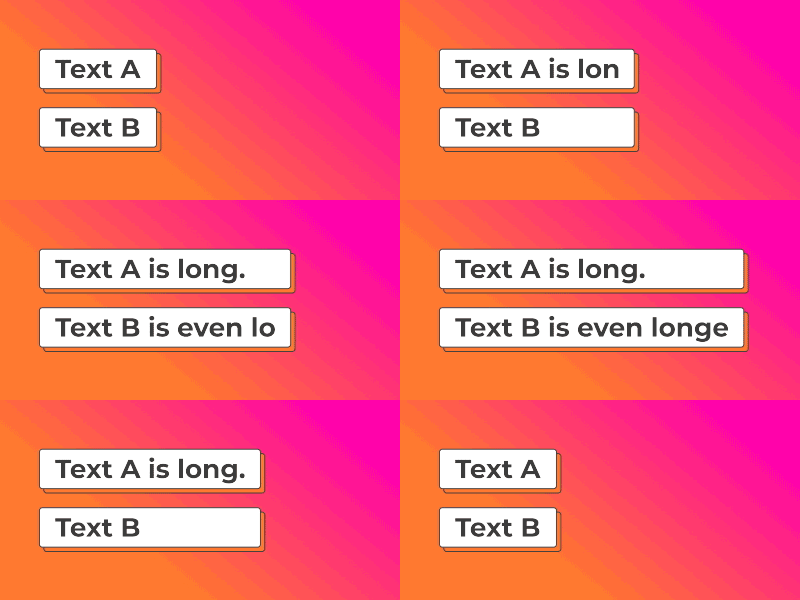
Get Min Width/Height from Layer
- Set the box width/height to be at least the width/height of a chosen layer.
- Perfect for lower thirds.
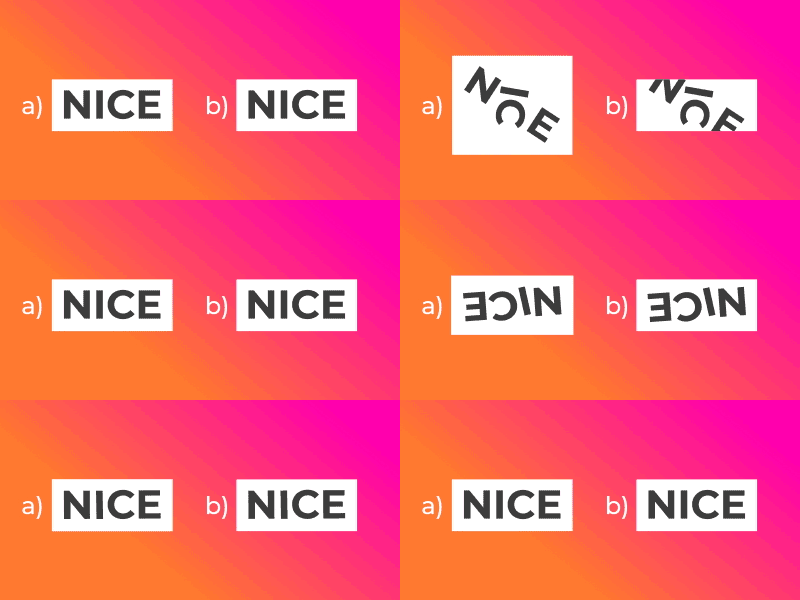
Size At Time
- The box adapts to the size of a text, but the size of a text can change over time, e.g. when you use text animators.
- You can choose when the box references the text layer to determine its size.
- Choose between: Current Time, Layer In Point, Layer Mid Point, Layer Out Point, Custom Time (for both width and height individually)
- a) uses "Current Time". b) uses "Layer In Point".
(Add to cart)
How does it work?
It’s super easy!
1. Select one or more text layers.
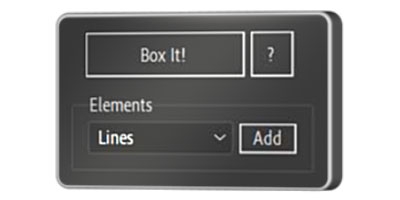
2. Click "Box It!" to add a dynamic text box.
3. Choose an element from the dropdown menu.
4. Click "Add" to add the chosen element to your text.
5. Adjust the settings in the Effect Controls Panel.
6. Done!
Why Box It!?
Pixel Perfect
![]()
Have you noticed how the position of a text box slightly shifts, when different shaped letters are used as the first character? When you set your alignment with “Box It!” it will always be perfect, no matter what.
Best Looking
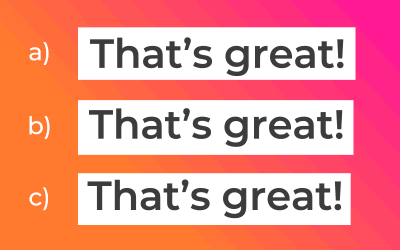
There are different ways of creating rectangles around a text. For optimal results, it's crucial to consider uppercase and lowercase letters, as well as ascenders and descenders. The key to a consistent and visually pleasing text box lies in using "cap height" to determine its height. Can you identify the example that uses cap height? (Solution at the end of the page.)
Versatile
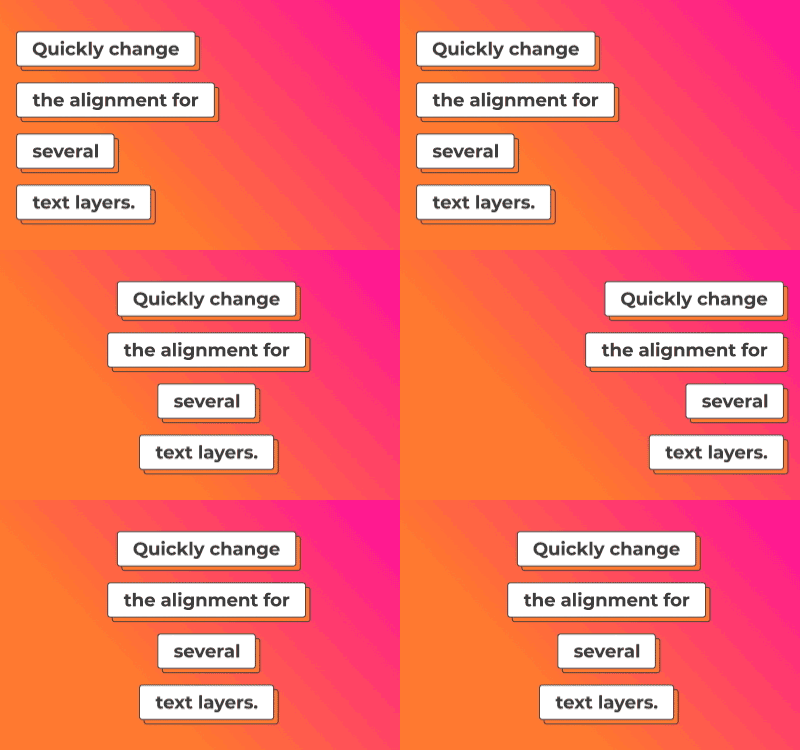
"Box It!" truly shines when combined with After Effects' built-in essential properties. Design and animate your text box in a single composition, then transfer the alignment and width properties of "Box It!" to the Essential Graphics panel. This allows for multiple variations of your text box, and if the client requests color or shape changes, you only need to adjust a single composition.
Shareable
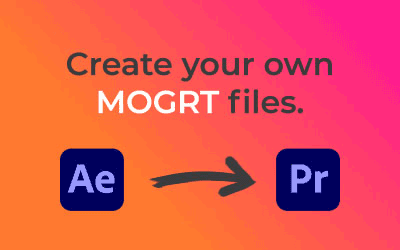
Everything is shape layer based so you can create your own Motion Graphics Templates (mogrts) for Premiere Pro or share your project with your clients and colleagues. They do NOT require "Box It!" to be installed.
Try it free!
Experience "Box It!" for free before making a purchase. The trial version has the following limitations:
- Valid for 7 days.
- You cannot add "Elements".
- Templates not included.
FAQ
1. The script does not work!
Make sure the expressions engine is set to "JavaScript" and not "Legacy ExtendScript". Go to "Project Settings/Expressions" to find this setting.
2. Every expression gives an error!
Make sure the expressions engine is set to "JavaScript" and not "Legacy ExtendScript". Go to "Project Settings/Expressions" to find this setting.
3. Can I share projects I made using Box It, without the need for others to install Box It?
Yes! Only shape layers and pseudo effects are used, so you can share your projects or templates with everyone.
Learn how to use Box It!
(Add to cart)
*Solution: a) Cap Height b) Full Height c) x-Height
| After Effects | 2024, 2023, 2022, 2021, 2020 |
|---|
1.3.1 (Current version) - Apr 15, 2024
- Improved: Layers created by "Box It", such as boxes, elements and height reference layers, now have the same length in the timeline as the text layer.
- Change: Height reference layers are not locked anymore.
1.3 - Mar 23, 2024
Main features: Show/Hide each individual bracket, adjust Length, Taper End, Shift Taper, and Position Offsets.
- Improved Element: Boundary Nulls:
Added percentage-based "Move X" and "Move Y" sliders to the corner Nulls, allowing the Null to slide from one side to the other.
1.2 - Nov 20, 2023
- New: Individual corner radius and profiles.
- New: Percentage based offsets (text + box, text, box, push out text).
- New: Trim to square.
- New: Added "Expand Width" and "Expand Height" to the expansion sliders.
- New: Added anchor point controls.
- Improved: Improved behaviour when aligning boxes to each other. You can now expand and trim individual boxes without affecting the position of aligned boxes.
- Improved: Position offset sliders have a more consistent behaviour.
- Improved: "Skew" now also affects the Lines-Element.
- Improved: Better fallback calculations of the box height, when the height-reference layer is deleted.
- Improved: When trimming to 100% the border now also disappears.
- Improved: Rebuilt templates to include new features.
- Changed: "Width Options" and "Height Options" have been regrouped into "Size Options".
- Changed: The effects that get applied by "Box It!" cannot be renamed anymore. This allows for faster development updates.
- Removed: "Flip Sides" has been removed as the newly added anchor point controls allow for more flexibility.
- Removed: "Extend Width By Layer" has been removed as the same effect can now be achieved with "Get Min Width From Layer" in combination with the expansion sliders.
1.1.2 - Oct 23, 2023
1.1.1 - Aug 6, 2023
- Fix: "Size At Time" now also accounts for all the changes made in the width and height options (Min Width/Height, Get Min Width/Height From Layer, Extend Width By Layer).
- Fix: "Size At Time" now works with text that changes the number of lines over time.
- Fix: Changing layer in and out points doesn't affect the alignment of text boxes anymore.
- Updated templates
1.1.0 - Jul 10, 2023
- New: Choose between pixel-based and percentage-based roundness
- Improved roundness behavior when trimming
- Updated templates to include new features
1.0.1 - Jun 25, 2023
- Removed a confusing trial limitation that prevented you from using the alignment features.
1.0 - Jun 21, 2023
- How to download items
- How can I retrieve my license code?
- How to install and run scripts
- How to run scripts if you do not have access to ScriptUI Panels folder
- How to upgrade to the latest version
- License Code FAQ
- License Activation Management
- aescripts + aeplugins Manager App FAQ
- Where can I find an invoice for my order

 Adding to cart...