Isomatic FX
-
Compatibility After Effects Please check exact version compatibility under the "COMPATIBILITY" tab below
Who doesn't know (and like) isometric graphics ?
This famous kind of perspective, recognizable by its absence of vanishing point (lines appear parallel to each other), can be seen almost everywhere.
Even if you think it's just one more trendy style, you might be right, but, as a motion designer, you just can't ignore this pretty stylish and efficient style !
Okay but... How could you achieve this "isometric" look within your favorite animation software ?
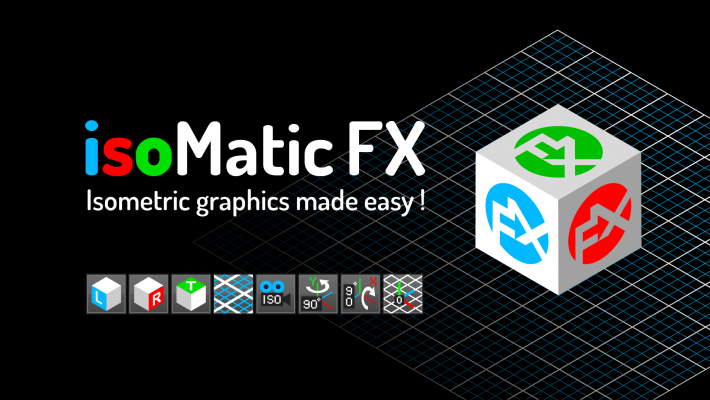
Introducing... Isomatic FX, the first tool that allows you to create isometric graphics, right inside After Effects !
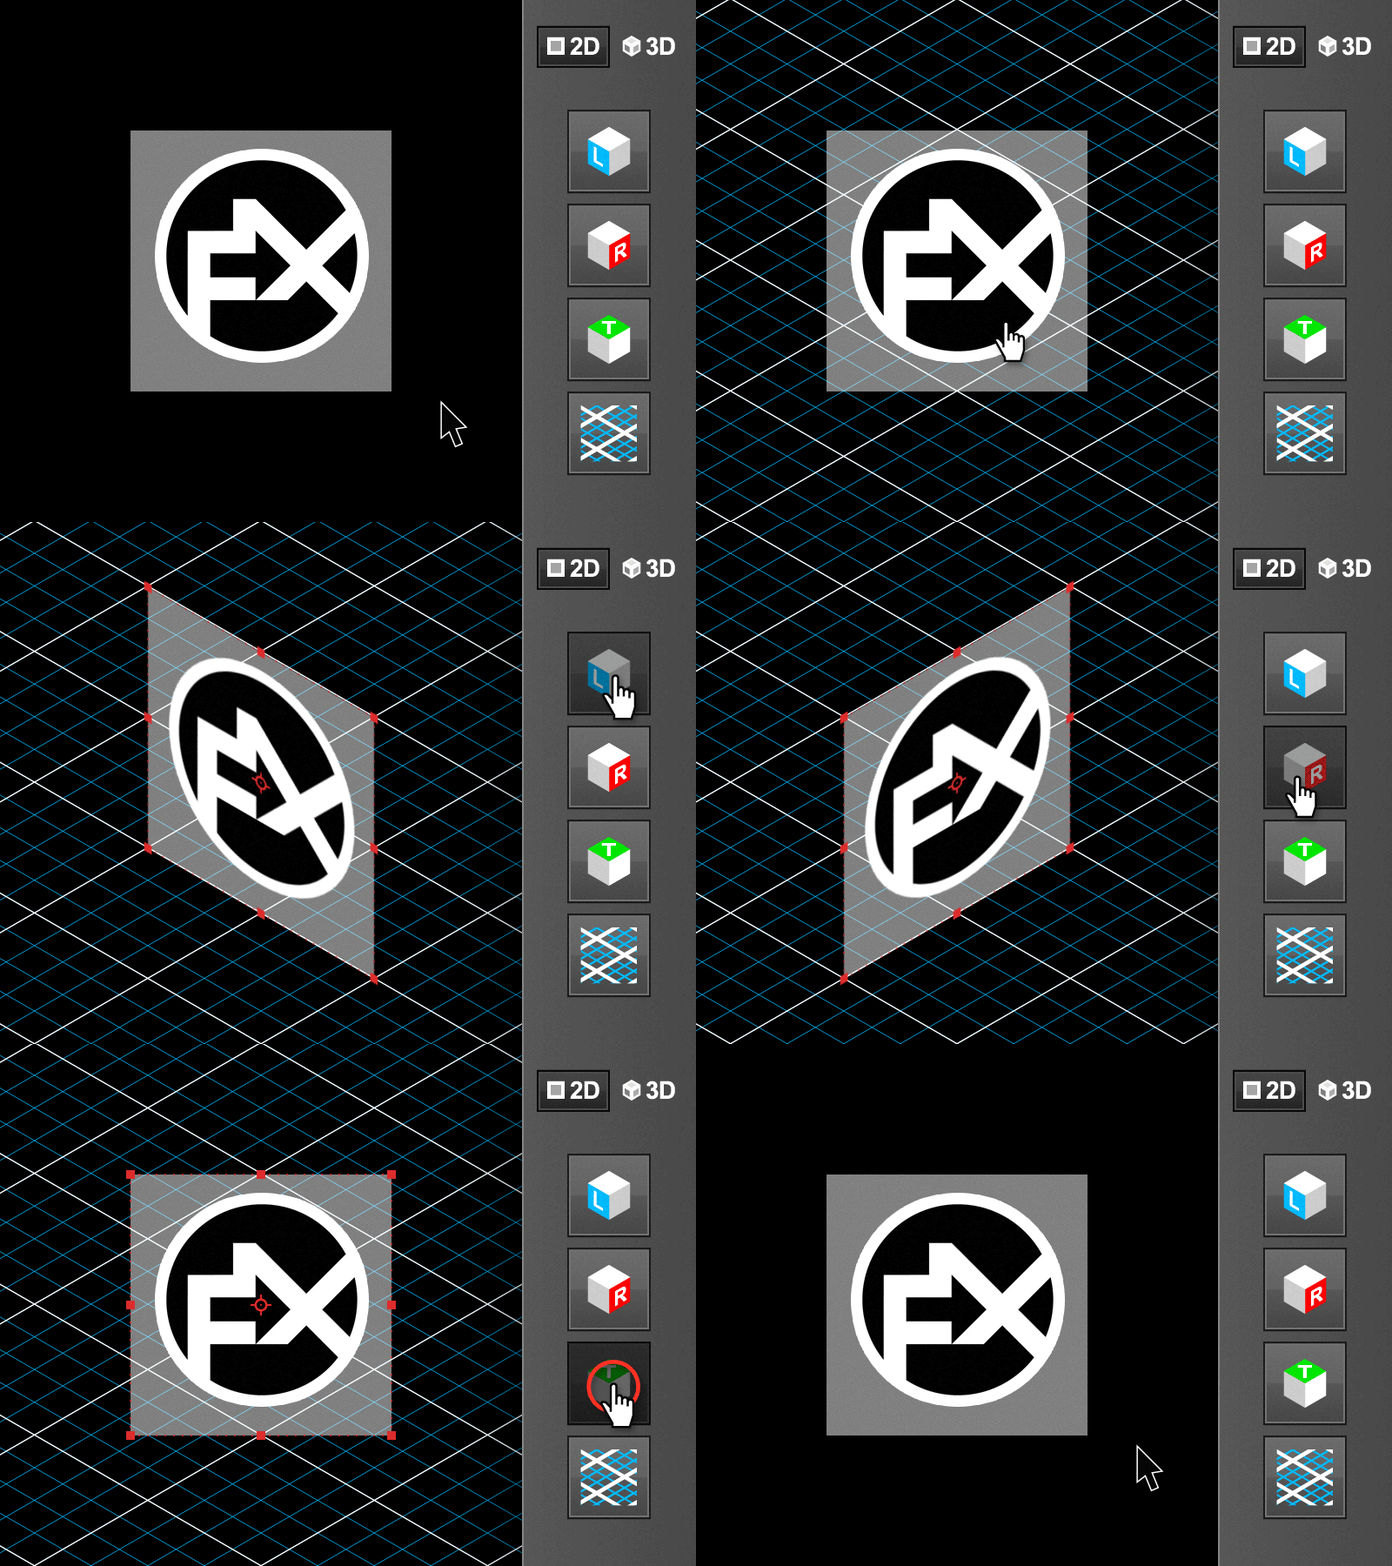
Isomatic FX comes with a little yet efficient UI, that let's you toggle from a "2D" mode to a "3D" mode (just click on the corresponding button).
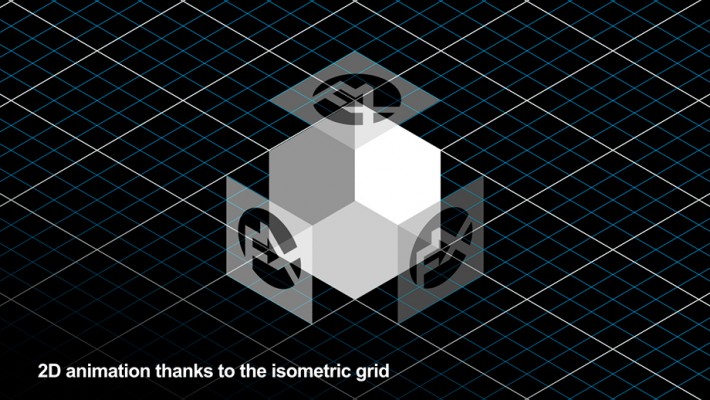
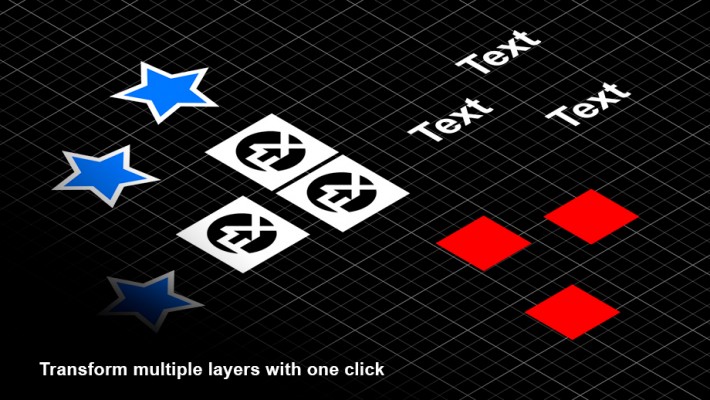
The 2D mode's tools will allow you to fake isometric style on any kind of 2D layer (work with solids, precompositions, footages, text layers and shape layers), while the 3D mode's tools are made to be used with real 3D layers (with a real 3D camera that mimics almost perfectly a true isometric camera).
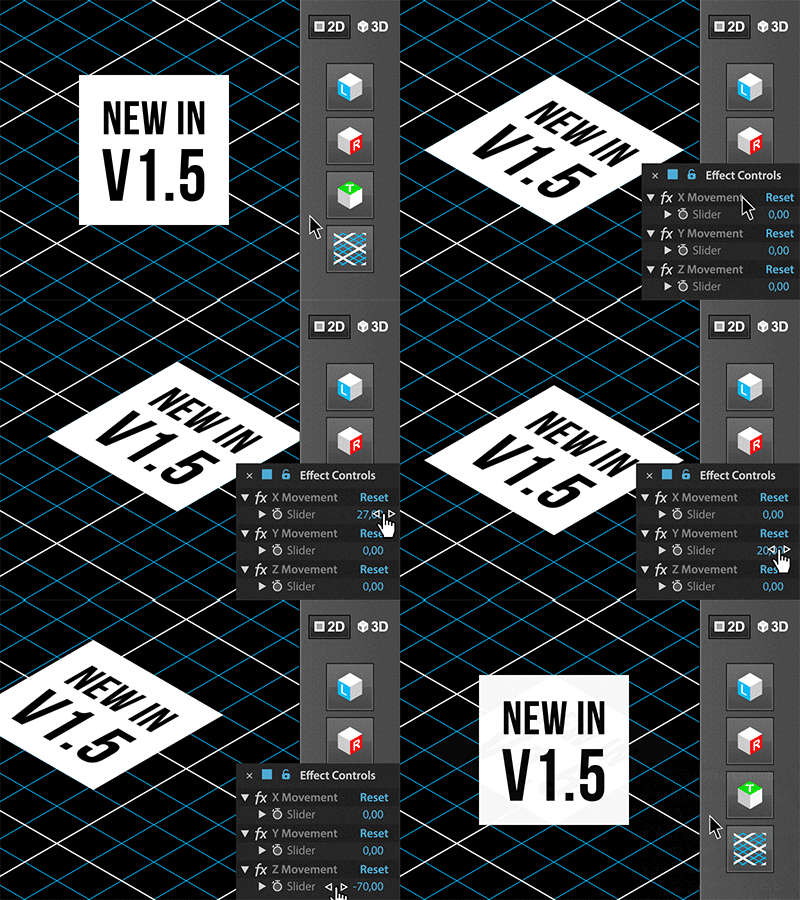
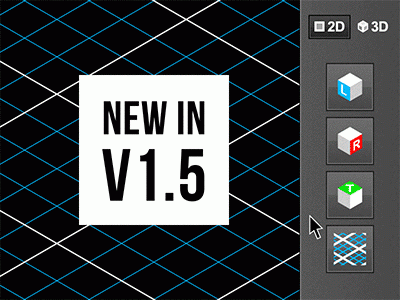
New feature in V1.5
While creating some faked isometry with IsomaticFX by clicking on its "2D Left isometry", "2D Right isometry" or "2D Top isometry" buttons, some new expressions are now applied to the 2D layer's transform position, that are linked to 3 useful sliders in the Effects panel (one slider per axis, called respectively "X Movement", "Y Movement" and "Z Movement", for each 2D layer).
These 3 sliders will then allow you to easily animate the movement of your 2D layers while constraining them along isometric axis, like if they were in a real 3D isometric space, which is way more convenient to animate your 2D isometric design, than animating their position manually !
Here are the two different modes in actions (please note that the vertical layout you see below doesn't exist ; the buttons will only be aligned horizontally) :
The 2D mode's tools
From top to bottom :
- 2D Left isometry (blue icon)
One click on it turns your selected layers in a left isometric style ;
Two clicks on it removes the isometry from these same layers. - 2D Right isometry (red icon)
One click on it turns your selected layers in a right isometric style ;
Two clicks on it removes the isometry from these same layers. - 2D Top isometry (green icon)
One click on it turns your selected layers in a top isometric style ;
Two clicks on it removes the isometry from these same layers ;
ALT + Click on it and it will change the top orientation (can be
changed anytime with the "Flip direction" checkbox created in
the selected layers' effects. - 2D isometric grid
Creates a customizable isometric grid as a guide layer.
You can change its color and thickness at the top of After Effects
layout, and increase or decrease the grid size and subdivisions
in the effects panel.
Note that you can only create one Grid layer by composition.
The 3D mode's tools
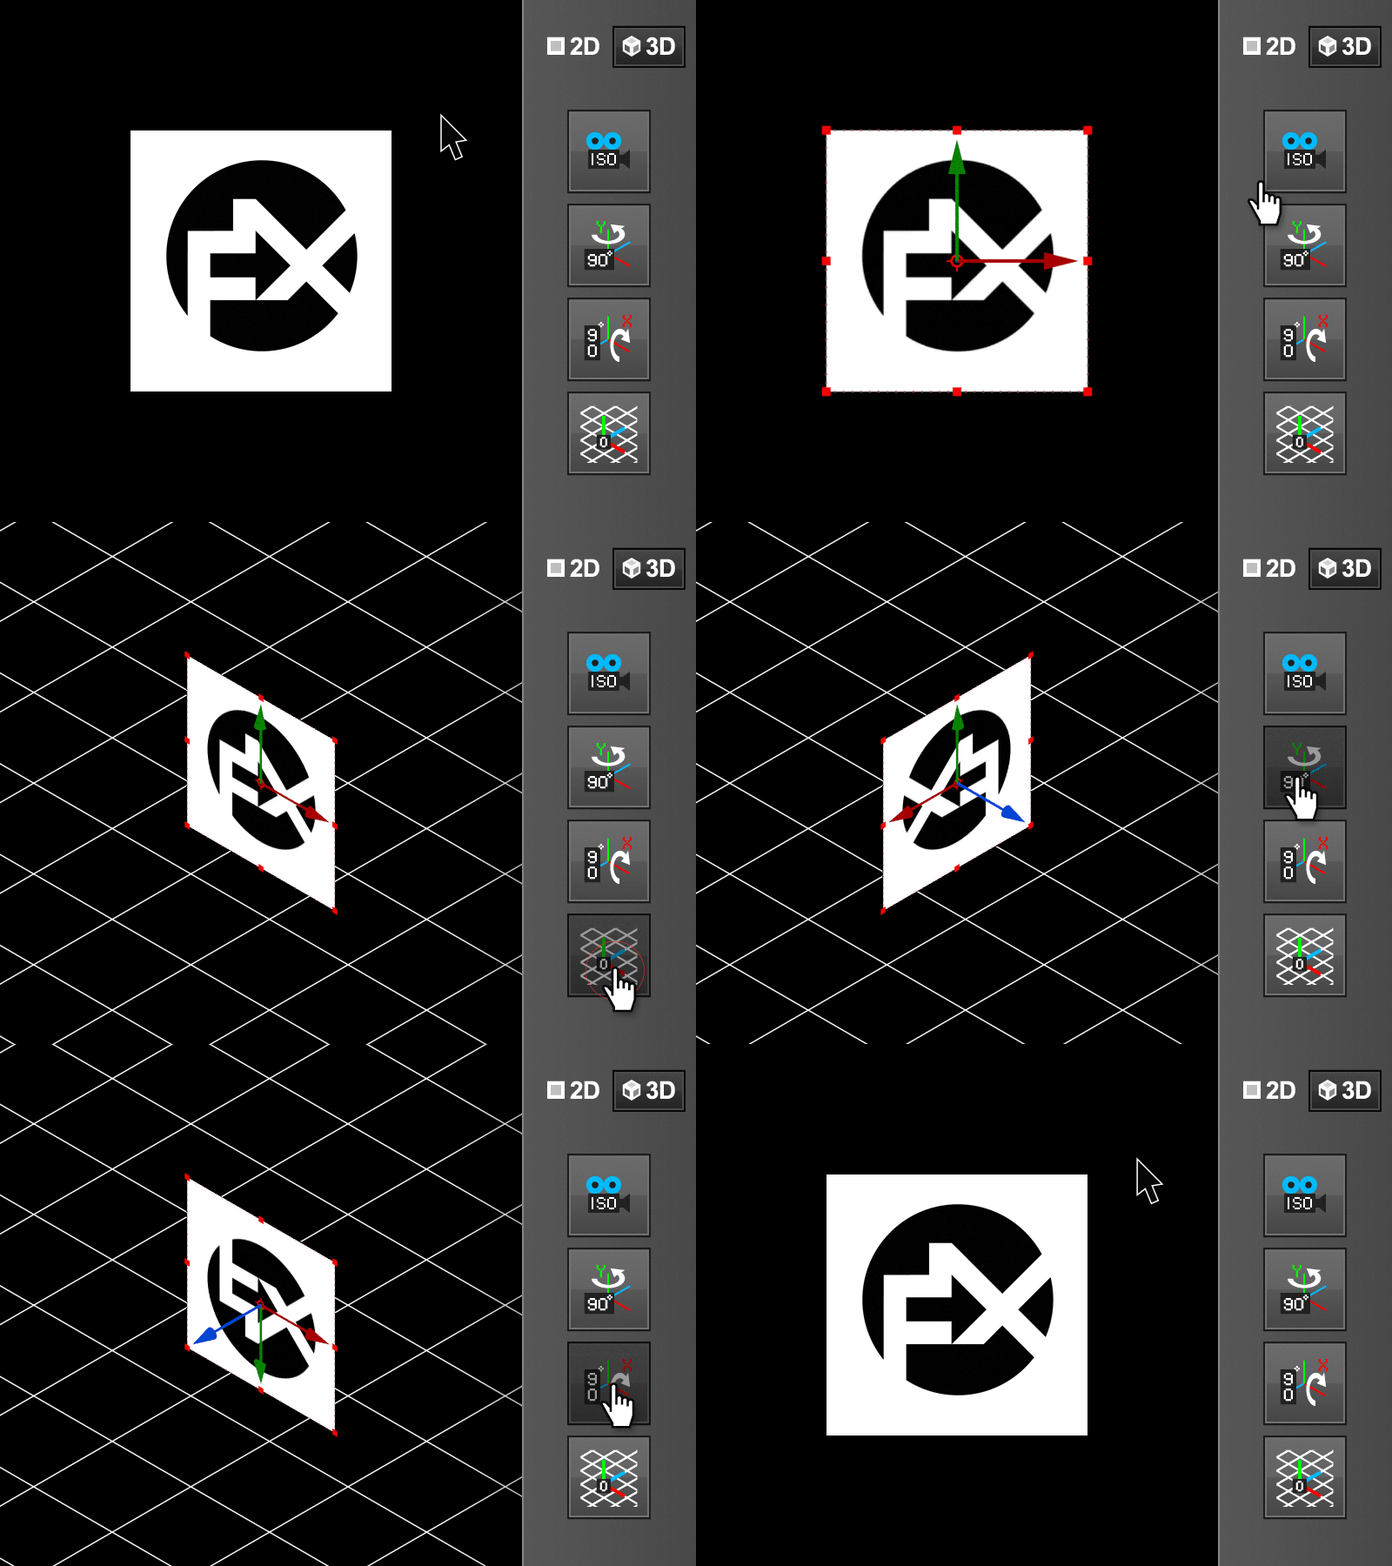
From top to bottom :
- 3D isometric Camera
Creates an almost perfect isometric camera (a 100% real one
can't be achieved within AfterEffects, but the difference isn't
noticable at all) ;
Note that you can only create one iso Camera by composition. - Rotates laterally in 3D
Each click on it rotates your selected layers (they have to be 3D)
by 90° increments around their Y axis ;
ALT + Click on it rotates them in the other direction. - Rotates vertically in 3D
Each click on it rotates your selected layers (they have to be 3D)
by 90° increments around their X axis ;
ALT + Click on it rotates them in the other direction ;
SHIFT + Click on it rotates them around their Z axis. - 3D ground grid
Creates a simple 3D solid squared layer, with a "Grid" effect
applied to it, to help you define the "floor plane" of your scene.
Note that you can only create one Grid layer by composition.
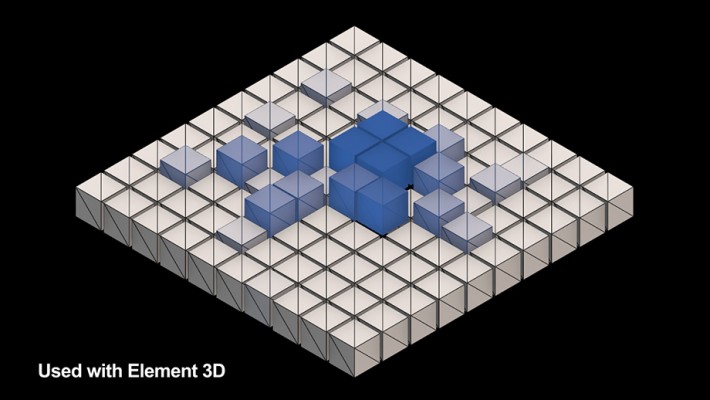
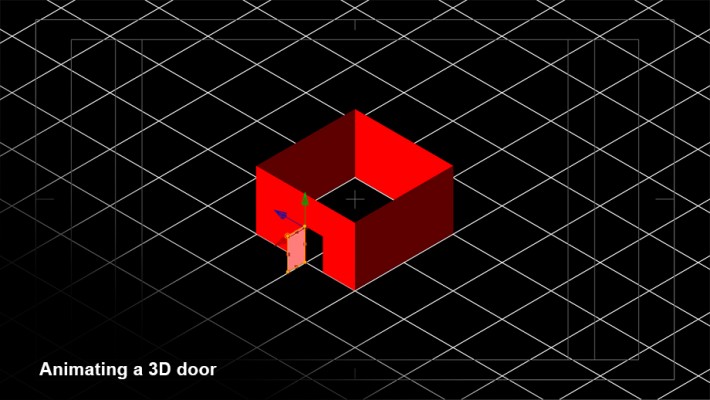
While dealing with 3D scenes, there is one more great addition with the isometric camera button :
Indeed, if you had already created an Element 3D scene in the comp in which you are about to create an isometric camera, the script will instantly find each Element 3D effect's instances, and set up the "Camera Cut off" options correctly for you, after having clicked on the IsoCamera button (otherwise, the default values in Element's "Camera Near Plane" and "Camera Far Plane" would be far to small to allow you to see your Element 3D scene with the isometric camera, which has a really high focal distance and zoom amount.). So, in order to make the Isomatic FX camera work in conjunction with Element 3D, it is better to create your scenes and animations with Element 3D and a more standard camera first, then to create the isometric camera with the tool afterward.
Please note that other 3D plugins like Trapcode Particular/Form or Plexus would not work correctly with this isometric camera due to their "camera cut off" limitations.
Installation :
Just copy and paste the .jsx file into your Adobe After Effects' Scripts > ScriptsUI Panels folder.
Works on PC and MAC, and is compatible with After Effects CS6 and CC.
| After Effects | 2025, 2024, 2023, 2022, 2021, 2020, CC 2019, CC 2018, CC 2017, CC 2015.3, CC 2015, CC 2014, CC, CS6 |
|---|
1.8.2 (Current version) - Oct 25, 2024
1.8 - Jul 3, 2024
1.6.2 - Sep 2, 2019
- Added support for macOS 10.15 in the licensing framework
1.6 - Nov 16, 2018
So, if you apply one of these 3 faked isometry appearance on a layer, re-clicking for the second time on the same button (L, R or T) will remove the isometric effect BUT NOT the 3 constraints sliders nor the corresponding expression on the layer's position.
May sound like a small update but it will be now way more efficient to constraint and animate any kind of layer (and isometric illustrations as well) at any time while being able to enable or disable the faked isometry on them
- Also fully compatible with the CC2019 new javascript engine
1.5 - Jun 4, 2017
While creating some faked 2D isometry with the help of the 2D "Left", "Right" or "Top" isomatic FX buttons, some expressions are now applied to the 2D layer's position, that are linked to 3 useful sliders in the Effects panel (one slider called "X/Y/Z Movement" per axis).
These sliders will then allow you to easily animate the movement of your 2D layers while constraining them along isometric axis, like if they were in a real 3D isometric space.

 Adding to cart...