Rubberize It! FAQs & Tips
 Rubberize It! FAQs
Trial Limitations: Rubberize It Trial verison is limited to six pins and three days.
Acceleration: It's all about the acceleration. With linear keyframes, the only acceleration/deceleration happens right at the keyframes, and it's instantaneous. Say you keyframe a layer moving from point A to point B with linear keyframes, it's like your layer gets hit by a truck at A (massive acceleration for one frame) moves at the constant speed of the truck (zero acceleration) and then slams into a wall at B (massive deceleration). That's probably not the look you're going for. If you want it to be more like stepping on the gas a A and braking to a stop at B, you need easing.
Extreme Eases & Expressions: When using Rubberize It!, please keep in mind that no other expression can be applied to Puppet Pins that are being used by the script. Also, extreme easing applied to transformations might give you unexpected results. Applying Rubberize It! to complex character rigs might give you unexpected results as well, given all the forces in play.
No Materials show up in Dropdown Menu: Try turning off "Enable JavaScript Debugger" in the General Preferences Menu in After Effects.
'Custom' doesn't show up in Dropdown Menu: We've seen this issue happen when display settings aren't set to 100%...thus cutting off something that was at the bottom of the dropdown menu - check your display settings make sure they're set at 100%, not higher.
Rubberize It! Tips & Tricks:
See the sample project contained in the download for references to some of the techniques mentioned below.
Fake Physics: 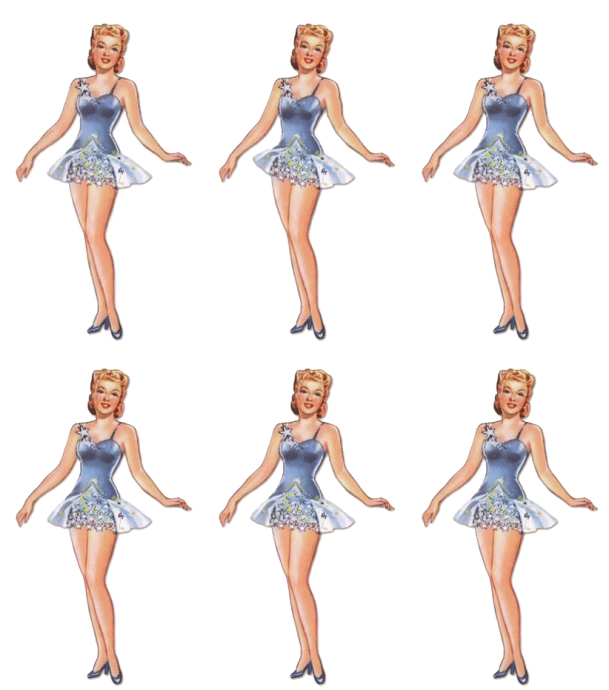
Let’s say you want to have a wobble but the move is too fast or slow to generate a decent wiggle…or you want the image to be stationary, and just wiggle suddenly for emphasis…
The following solution is one way to cheat the wiggle. But since it’s done manually, it might not be the best solution if you have a lot of objects…
1) Split the layer at the keyframe where you want the wobble to begin.
2) Adjust the first keyframe on the top split layer. (The one you want to wobble) Find the right speed that makes the rubberized effect you desire. Feel free to change the settings and re-apply Rubberize It! multiple times for the desired effect.
3) That’s it! The effect should be that the bottom split layer has the original motion, and the top has the rubberized wobble.

 Rubberizing Newton:
This might also be a good approach if you’re in a situation where keyframes have been baked or with complex keyframing (e.g.: Newton).
There are a few extra steps necessary for this situation:
1) Cue to the point you want the wobble to happen and split it at that point.
2) Duplicate the top split layer which is you want to rubberize. Then, turn the duplicate invisible. This will become the parent layer that controls the movement of the child later on in the process.
3) Delete all the keyframes on the top split layer (the one you want to wobble) other than the first one and the one at the point of impact.
4) Adjust the first keyframe on the top split layer. Find the right speed that makes the rubberized effect you desire. Feel free to change the settings and re-apply Rubberize It! multiple times for the desired effect.
6) Making sure the timeline is cued to the beginning of the top split layer, parent that layer to the original, invisible layer.
The effect should be that the bottom split layer still has the original motion, and the top has the rubberized wobble. This can be done multiple times within the same comp to create multiple wiggles on the same object if this bounces around a lot . Here’s an example:

Rubberize words instead of letters:
Once you pre-comp the text, there are two basic ways to apply Puppet Pins. The first is to apply it letter by letter. That’s the default way to do it. You’ll notice an outline around each letter as you apply the pins to it.
The second way is a bit of a cheat. If you wanted to rubberize the entire word, line, or block of lines as a whole, rather than individual letters, here’s what you can do…

1) Open up the Pre-Comp with the text you’re working with. Create a solid box the size of the text. You can just cover up the text for now. Its temporary.
2) Go back into the Master Comp where the Pre-Comp is situated and apply the Puppet Pins to the box.
3) Return to the Pre-Comp and turn off the box. Now you’ve got pins on the corners that define a shape rather than letters. Now you can get Rubberizing.
Formulas:
It’s easy enough to see what works better for your animation by just switching formulas and clicking Rubberize. Sometimes the difference is subtle and other times, not so much.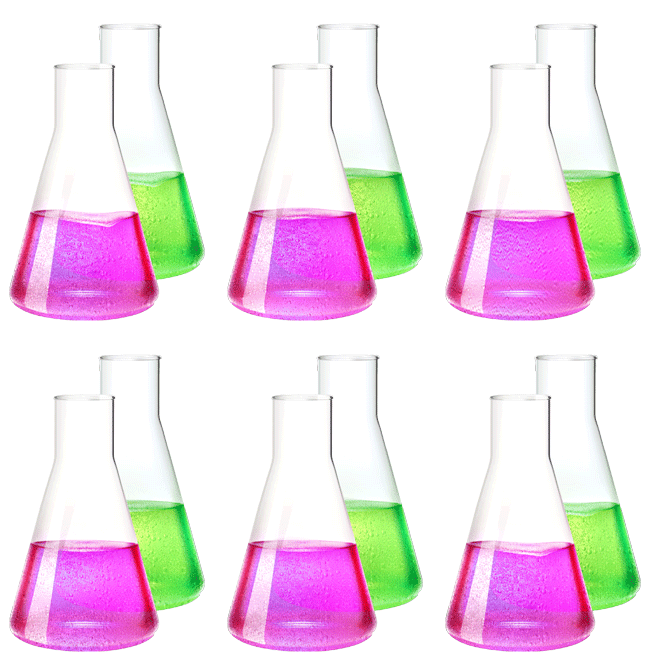
In technical terms, Formula A responds to the component of the acceleration that would cause the pin to rotate around the anchor point. When you scale a layer, the pin's acceleration is 100% directly towards or away from the anchor point, so there isn't a component that will cause rotation. I like to think of it that with Formula A, it's as if the pin is attached to the anchor point by a rigid, invisible bone so that the only motion possible is when the bone rotates at the anchor point. In technical terms, Formula A responds to angular velocity of the pin relative to the anchor point.
In general, Formula A seems to be better sited for animations using changes in a horizontal position and rotation and Formula B is better for vertical position and scale changes.
 Anchor Points:
Formula A uses anchor points and Formula B does not.
Both A and B can exist on one layer, resulting in different reactions for the area which those pins are applied.
If you’re working with Formula A, consider the interaction of the anchor point with pins that are clean (or unrubberized). Their relationship can either make no difference, emphasize the motion if it’s in the same location, or contradict it, cancelling out the effect.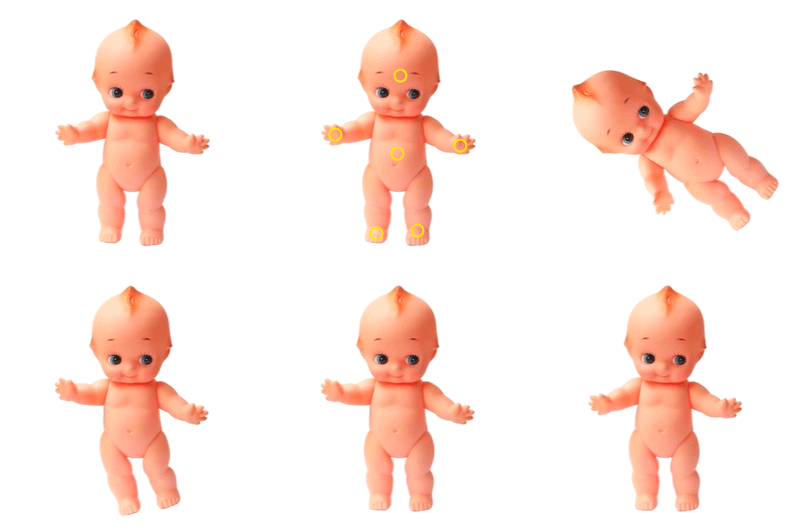
For example, if the anchor point of the layer is at the top and cleaned pins are at the bottom, chances are they will cancel each other out.
On the other hand, if both clean and the layer's anchor points are in the same area, it will magnify the Rubberize effect.
 Mix & Match:
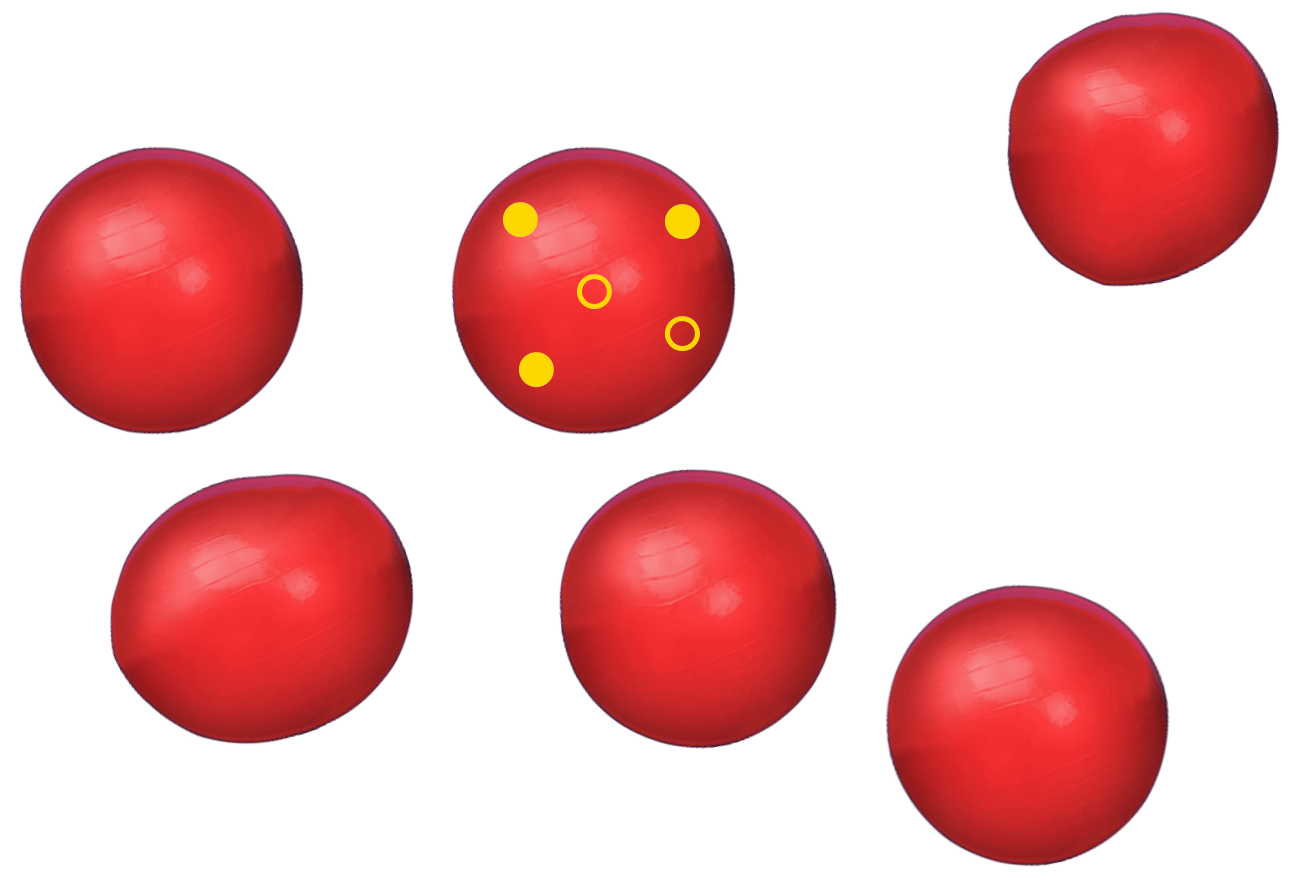
You can mix and match materials, chaos and formulas, so that one object can have a variety of different bounces. You just have to select the pins you want to affect and apply the material. This ball had multiple types of materials applied to it to create a more active and realistic wiggle.
Accidental Pin Selection:
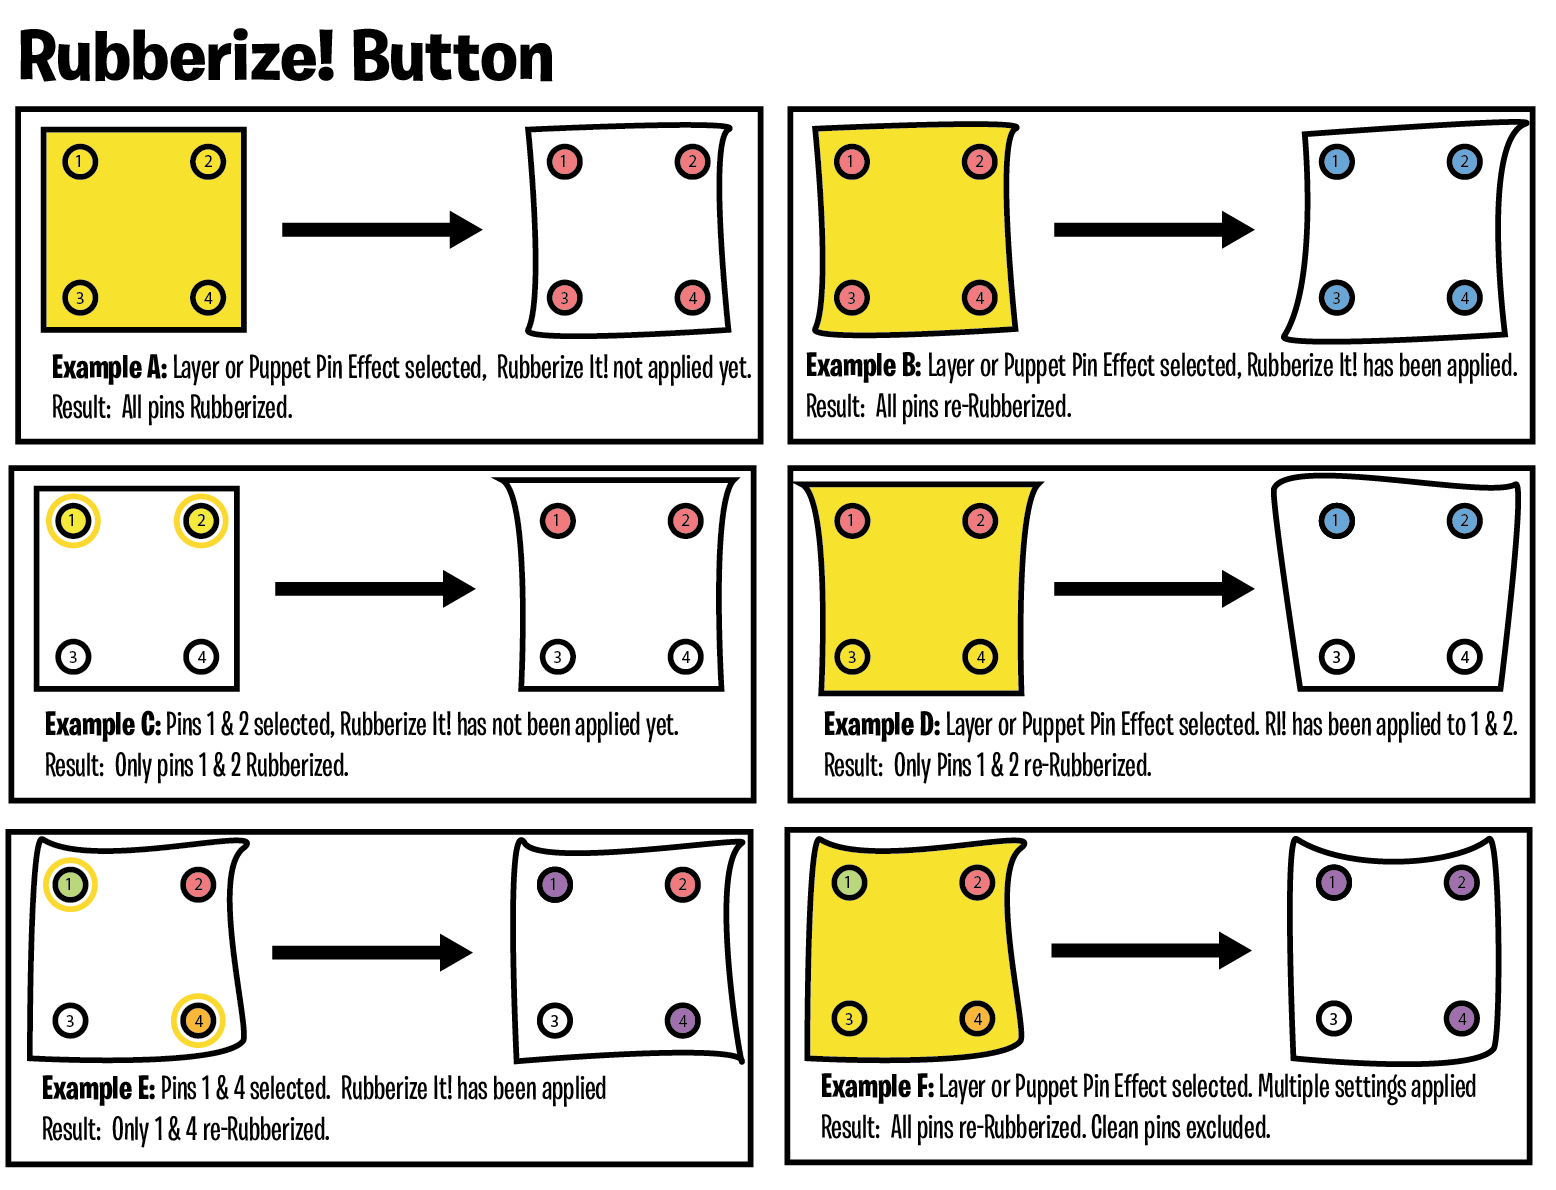
Beware of the accidental pin selection! After you initially apply your pins, After Effects will keep the last pin you put down selected by default. When you apply Rubberize It!, it’ll just apply it to that last pin. You need to select the layer OR the Puppet Pin effect in order to make sure that all the pins are selected before you Rubberize. Of cours,e you can also just manually select certain pins and apply it that way too.
Here's a chart visualizing the different ways the Rubberize! button works:
The dropdowns in the UI are getting cut off: Click here for more info
